---
title: "The Text Editor"
description: "Use the block-based editor to create structured text with media, lists, and AI assistance."
search:
tags: ["text editor", "blocks", "formatting"]
---
The Leadtime editor is the app's universal text-entry tool. It is available **throughout the application** wherever you can enter or edit text.
You will find it in **tickets**, **projects**, **comment fields**, **notes**, **checklists**, and **internal descriptions**.
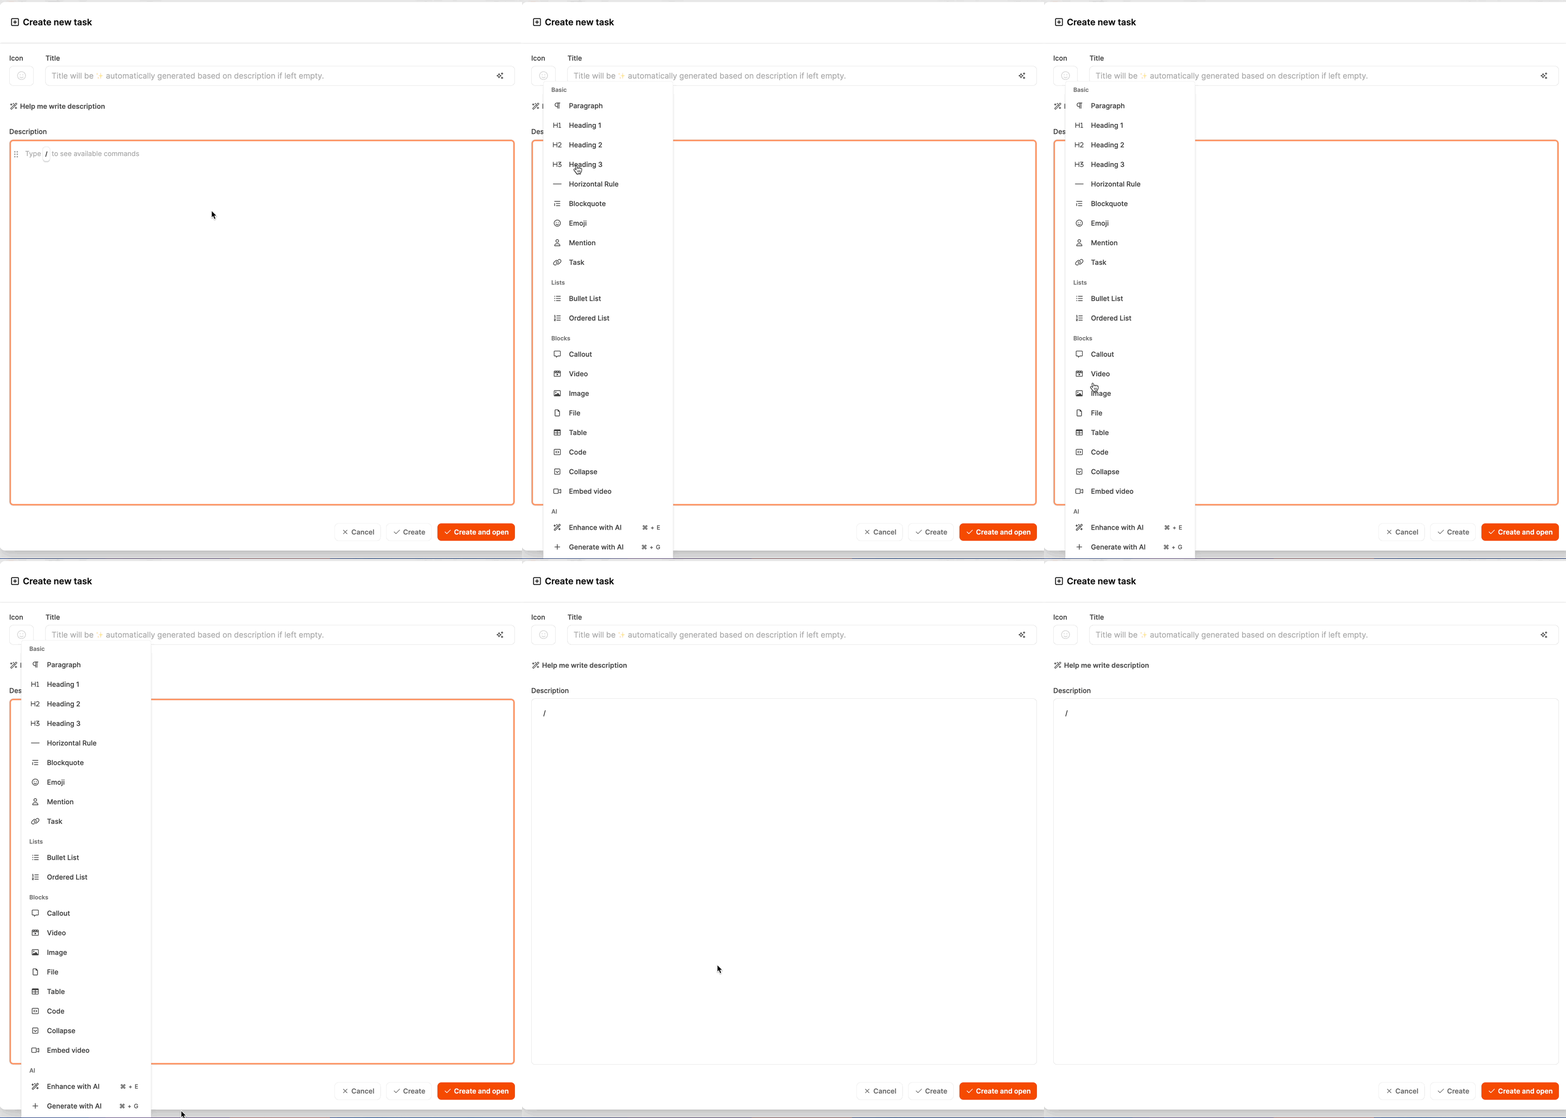
Use it to capture information clearly, structure it, and present it visually—from a short status update to detailed task or project documentation. Its **block-based design** lets you arrange text flexibly and add media, tables, or interactive content.
---
### Structure and behavior
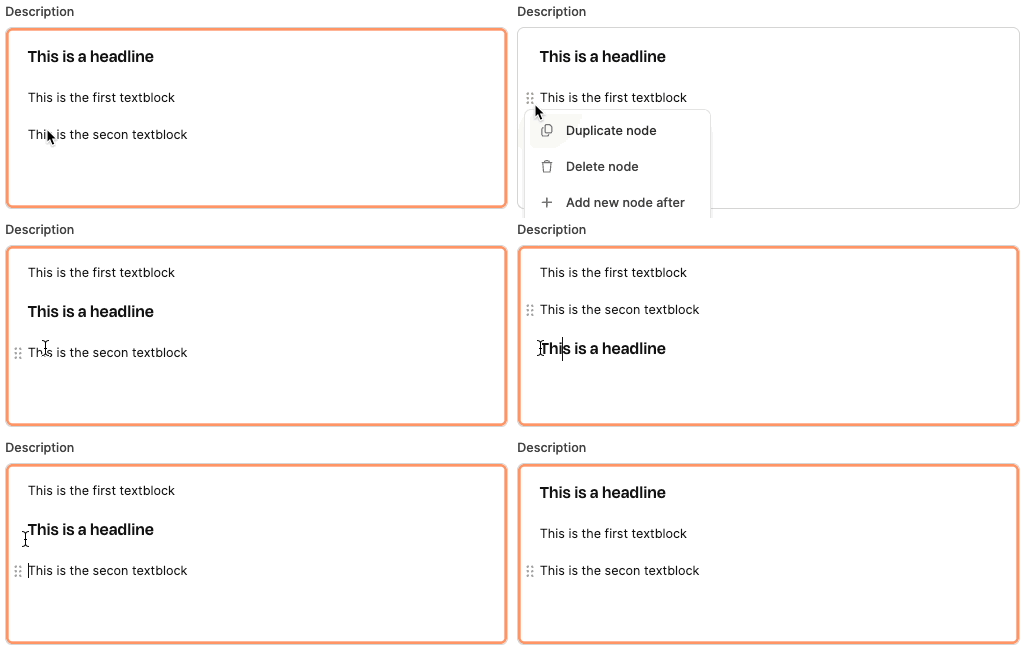 The Leadtime editor is **block-based**. Each piece of content—whether text, a list, a file, or an image—is a separate **block**.
You can **reorder, move, delete, or format** these blocks freely.
Type a **slash (“/”)** to open the block menu and see every available option.
This lets you structure and extend your text quickly without switching between tools.
---
## Fullscreen mode
Use **Fullscreen mode** when you want the rest of the app out of the way while you write.
1. Type **/** in the editor.
2. Search for **Fullscreen mode** or **Zen mode**.
3. Press **Enter**.
You can also press **Ctrl+Alt+Z** (Windows/Linux) or **⌘⌥Z** (Mac).
The same editor stays open in a focused overlay with a close button in the corner. Your changes keep updating the original field. Press **Escape**, click the close button, or use the same shortcut again to return.
---
## Block types
### Paragraph
The Leadtime editor is **block-based**. Each piece of content—whether text, a list, a file, or an image—is a separate **block**.
You can **reorder, move, delete, or format** these blocks freely.
Type a **slash (“/”)** to open the block menu and see every available option.
This lets you structure and extend your text quickly without switching between tools.
---
## Fullscreen mode
Use **Fullscreen mode** when you want the rest of the app out of the way while you write.
1. Type **/** in the editor.
2. Search for **Fullscreen mode** or **Zen mode**.
3. Press **Enter**.
You can also press **Ctrl+Alt+Z** (Windows/Linux) or **⌘⌥Z** (Mac).
The same editor stays open in a focused overlay with a close button in the corner. Your changes keep updating the original field. Press **Escape**, click the close button, or use the same shortcut again to return.
---
## Block types
### Paragraph
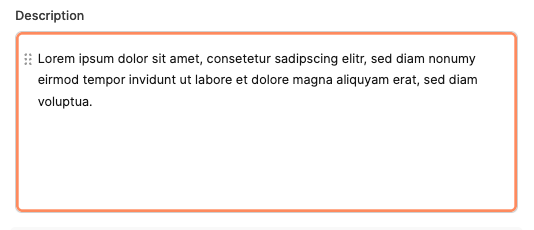 The standard block for body text.
Use it for descriptions, summaries, or explanations.
It supports common formatting such as **bold**, *italic*, code, and lists.
---
### Heading 1–3
The standard block for body text.
Use it for descriptions, summaries, or explanations.
It supports common formatting such as **bold**, *italic*, code, and lists.
---
### Heading 1–3
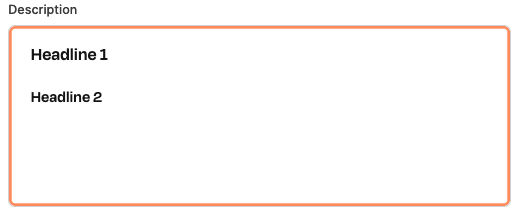 Three heading levels help you organize content clearly.
- **Heading 1:** Main topic or section title
- **Heading 2:** Subtopic
- **Heading 3:** Detail or subsection
---
### Horizontal Rule
Three heading levels help you organize content clearly.
- **Heading 1:** Main topic or section title
- **Heading 2:** Subtopic
- **Heading 3:** Detail or subsection
---
### Horizontal Rule
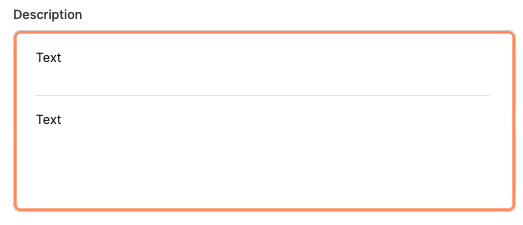 Adds a horizontal line between sections, making long texts easier to scan.
---
### Blockquote
Adds a horizontal line between sections, making long texts easier to scan.
---
### Blockquote
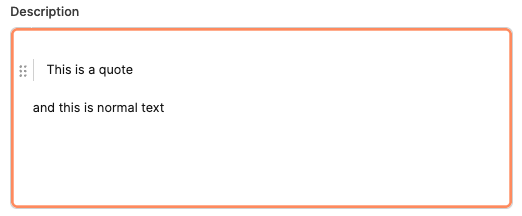 Highlights important notes, quotations, or statements from external sources.
It is particularly useful for documenting customer feedback or test comments.
---
### Emoji
Highlights important notes, quotations, or statements from external sources.
It is particularly useful for documenting customer feedback or test comments.
---
### Emoji
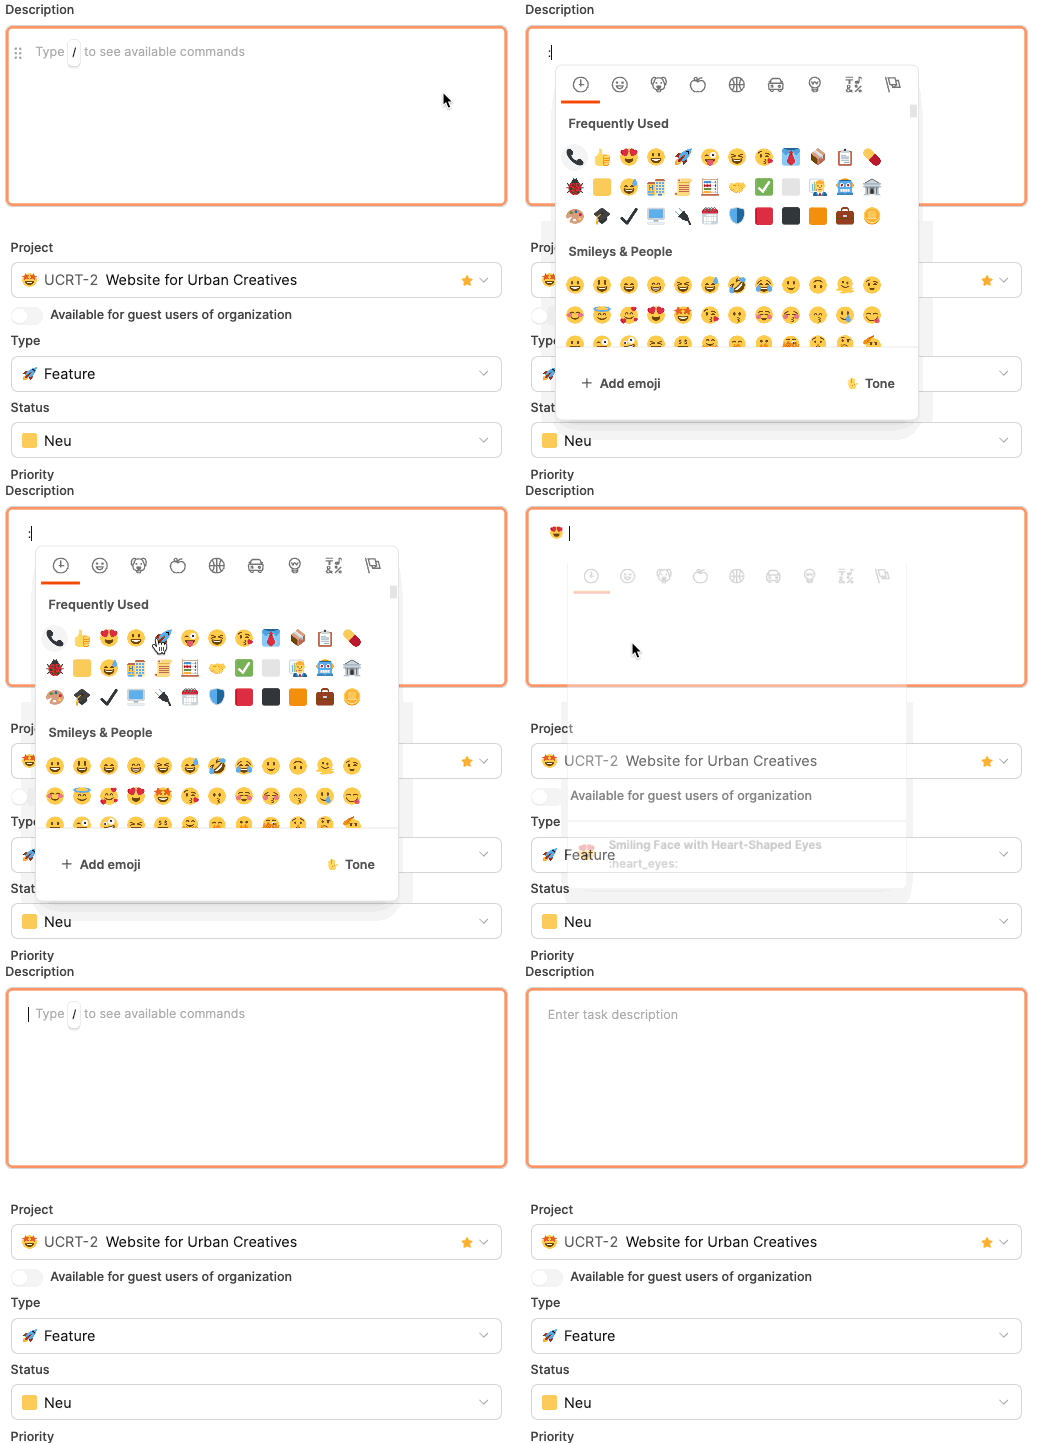 Adds emojis for visual emphasis or to make the content more approachable.
**Shortcut:** Type `:` followed by the emoji name.
---
### Mention
Adds emojis for visual emphasis or to make the content more approachable.
**Shortcut:** Type `:` followed by the emoji name.
---
### Mention
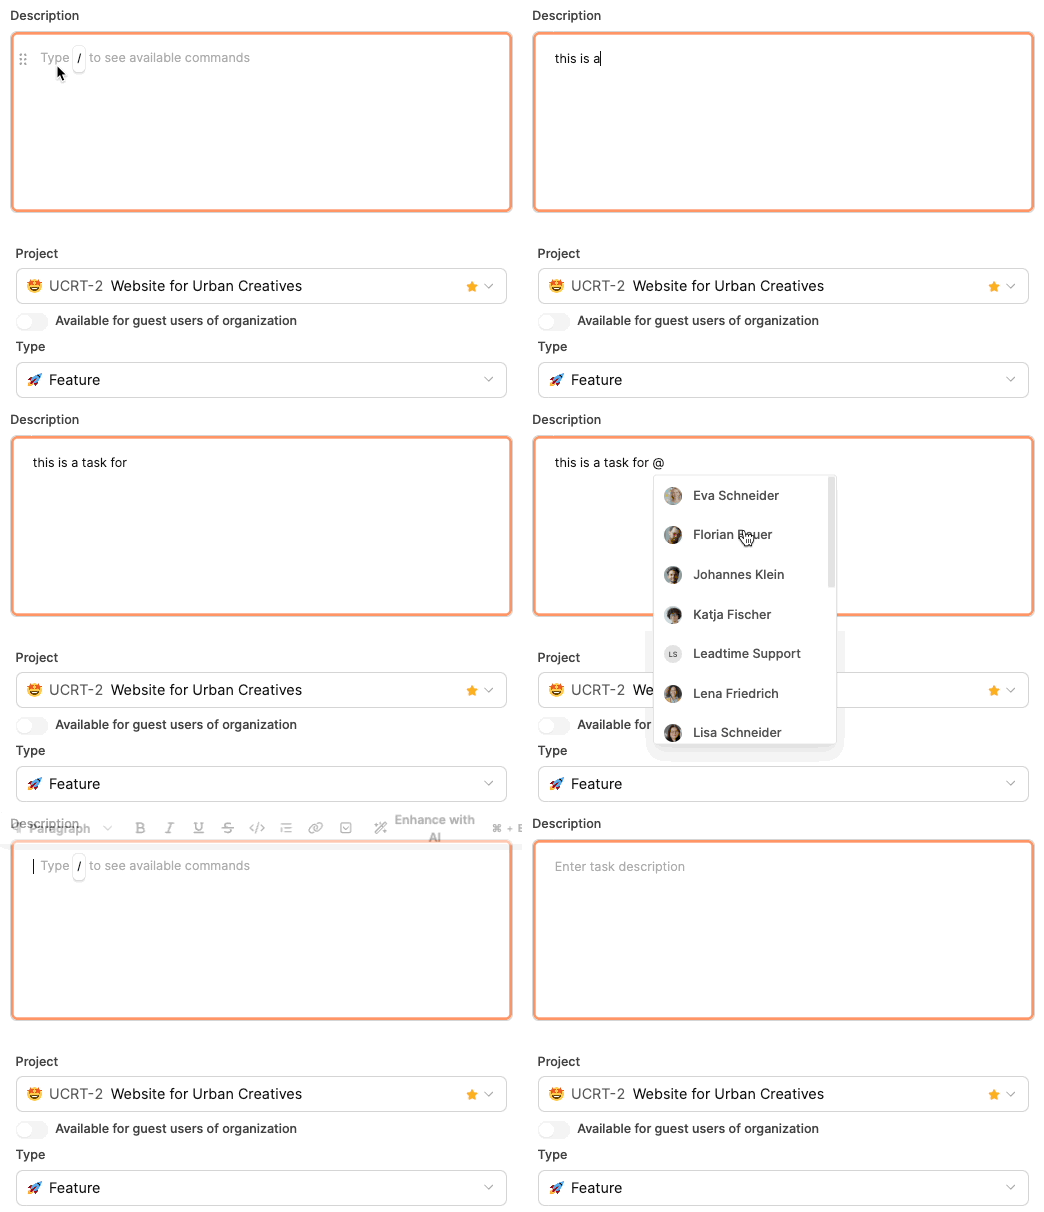 Mention another user with `@`.
The mentioned user receives a notification, supporting real-time collaboration.
---
### Task
Mention another user with `@`.
The mentioned user receives a notification, supporting real-time collaboration.
---
### Task
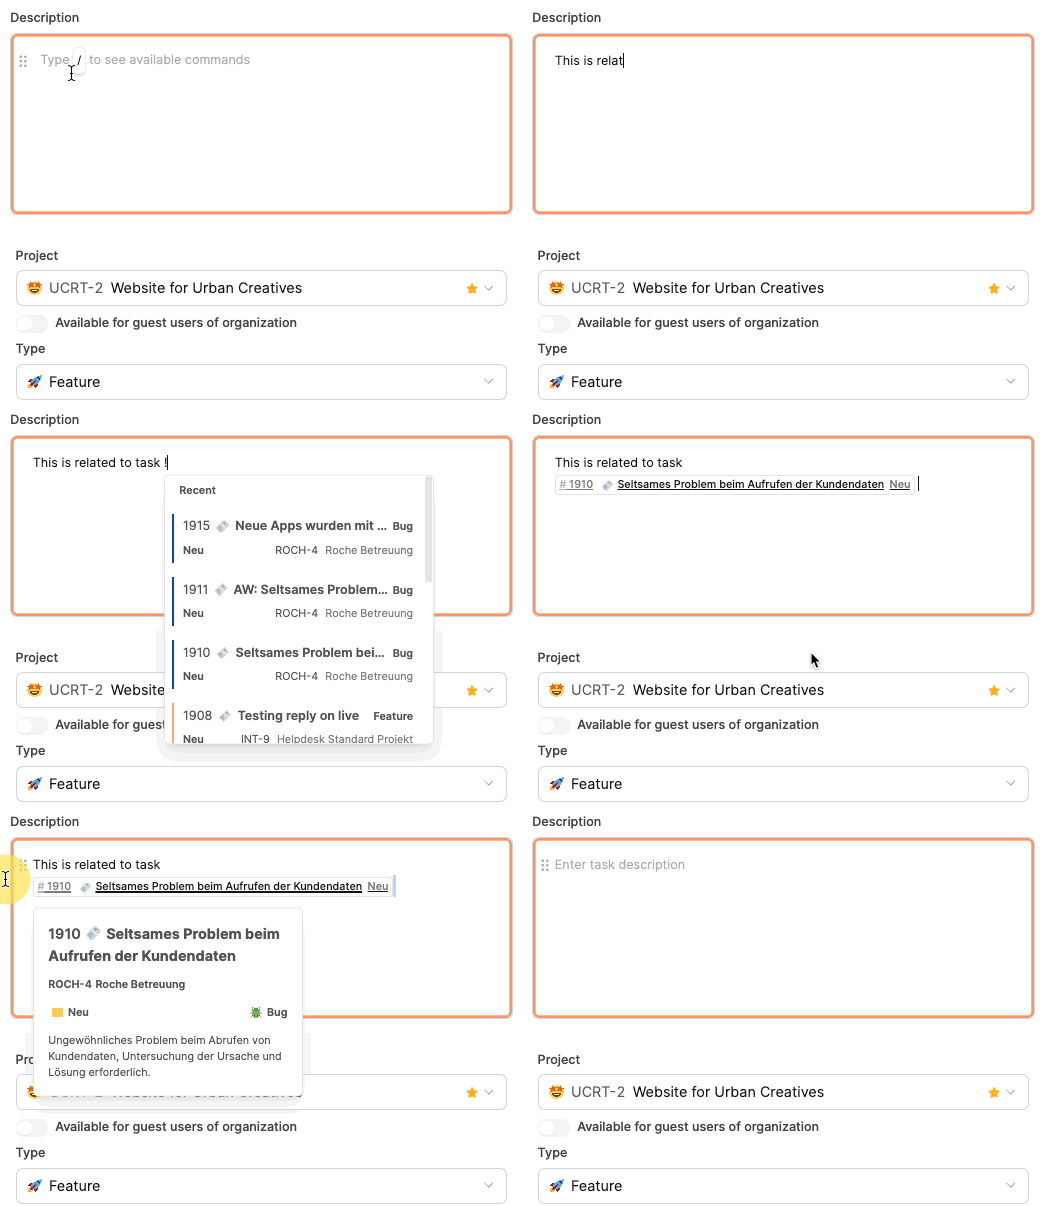 Links to another ticket in Leadtime.
Use task links to document dependencies or references clearly.
**Shortcut:** Type `!` followed by the ticket number or title.
---
### Bullet List
Links to another ticket in Leadtime.
Use task links to document dependencies or references clearly.
**Shortcut:** Type `!` followed by the ticket number or title.
---
### Bullet List
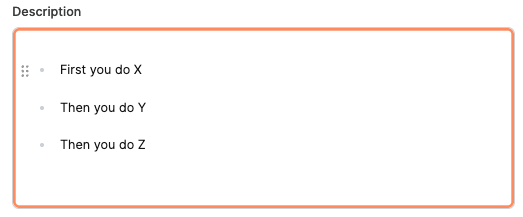 Creates an unordered list for checklists, ideas, or short collections.
Example:
- Item 1
- Item 2
- Item 3
---
### Ordered List
Creates an unordered list for checklists, ideas, or short collections.
Example:
- Item 1
- Item 2
- Item 3
---
### Ordered List
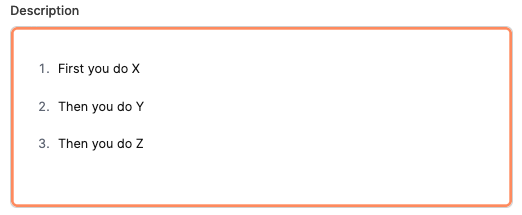 Creates a numbered list for a process or sequence of steps.
Example:
1. Preparation
2. Execution
3. Completion
---
### Callout
Creates a numbered list for a process or sequence of steps.
Example:
1. Preparation
2. Execution
3. Completion
---
### Callout
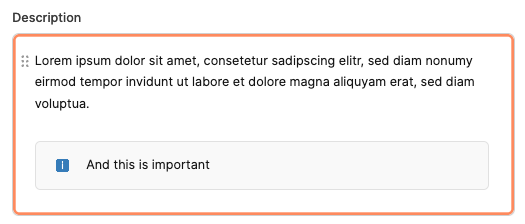 Creates a highlighted block for an important note, warning, or summary.
You can also add emojis or colors.
---
### Image
Creates a highlighted block for an important note, warning, or summary.
You can also add emojis or colors.
---
### Image
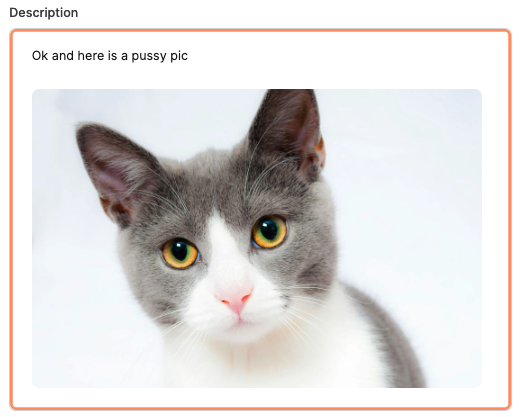 Adds an image such as a screenshot, diagram, or UI reference to the description.
Images are useful for support cases and visual project work.
---
### Video
Adds an image such as a screenshot, diagram, or UI reference to the description.
Images are useful for support cases and visual project work.
---
### Video
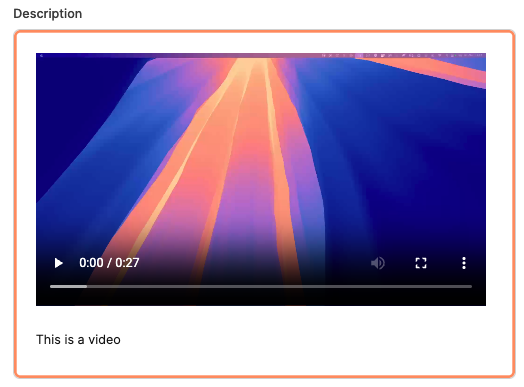 Adds a video file directly to the text, for example for a demo or bug report.
The video appears inline and can be played in place.
---
### Embed Video
Adds a video file directly to the text, for example for a demo or bug report.
The video appears inline and can be played in place.
---
### Embed Video
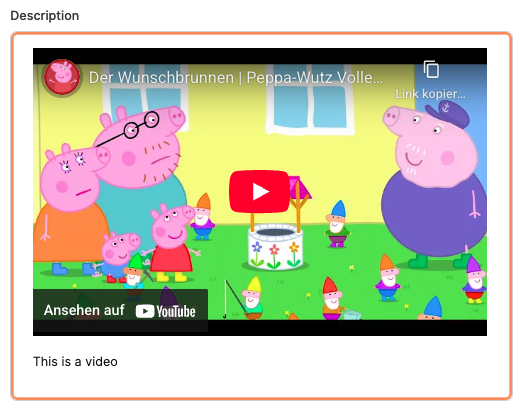 Embeds a video when the file is too large for direct upload (more than 50 MB).
For example, you can embed a YouTube or Vimeo link.
---
### File
Embeds a video when the file is too large for direct upload (more than 50 MB).
For example, you can embed a YouTube or Vimeo link.
---
### File
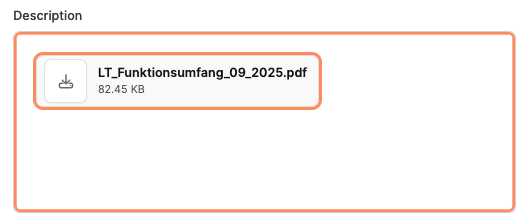 Uploads and attaches a file such as a PDF, ZIP archive, or Excel spreadsheet.
The file remains with the ticket and is available to all project members.
---
### Table
Uploads and attaches a file such as a PDF, ZIP archive, or Excel spreadsheet.
The file remains with the ticket and is available to all project members.
---
### Table
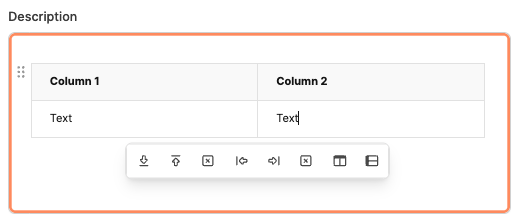 Tables organize information into rows and columns. You can use them for technical parameters, task comparisons, price lists, or process overviews.
Insert a table directly into a task description and edit it with a few clicks.
Each table consists of **cells** that can contain text, emojis, or links.
After inserting a table, a **toolbar** appears with controls for rows, columns, and headers.
**Buttons in the table toolbar**
Tables organize information into rows and columns. You can use them for technical parameters, task comparisons, price lists, or process overviews.
Insert a table directly into a task description and edit it with a few clicks.
Each table consists of **cells** that can contain text, emojis, or links.
After inserting a table, a **toolbar** appears with controls for rows, columns, and headers.
**Buttons in the table toolbar**
 - **Add row below:** Adds a row below the selected row.
- **Add row above:** Adds a row above the selected row.
- **Delete row:** Removes the selected row and its content.
- **Add column left:** Adds a column to the left of the selected column.
- **Add column right:** Adds a column to the right of the selected column.
- **Delete column:** Removes the selected column.
- **Enable/disable header row:** Toggles the table's header row.
- **Enable/disable header column:** Toggles the table's header column.
---
### Code
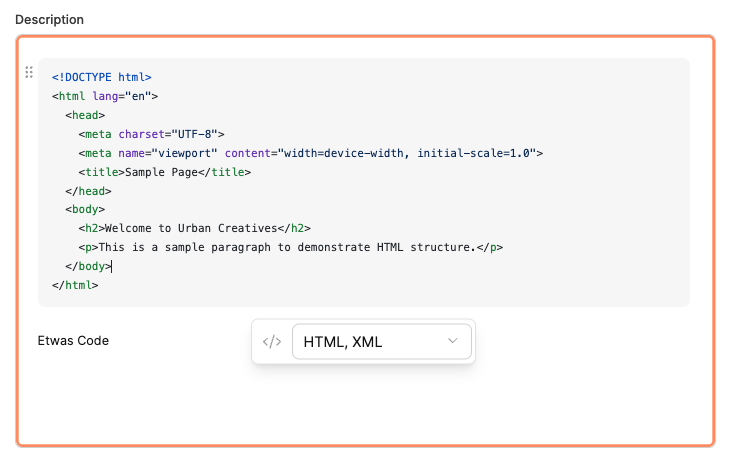
The **code block** displays and documents source code, configuration, or technical snippets in tasks, projects, and tickets.
It is particularly useful for development teams that need to keep examples, log output, or API structures with the relevant task. The block is easy to scan, supports color highlighting, and keeps the code in context.
A code block uses an editable monospace field. A small toolbar below the block provides additional options.
**Language selector:** Choose the programming language used by the code.
Leadtime supports syntax highlighting for many languages, including:
- JavaScript
- HTML / XML
- CSS
- JSON
- TypeScript
- Python
- SQL
---
### Collapse
- **Add row below:** Adds a row below the selected row.
- **Add row above:** Adds a row above the selected row.
- **Delete row:** Removes the selected row and its content.
- **Add column left:** Adds a column to the left of the selected column.
- **Add column right:** Adds a column to the right of the selected column.
- **Delete column:** Removes the selected column.
- **Enable/disable header row:** Toggles the table's header row.
- **Enable/disable header column:** Toggles the table's header column.
---
### Code

The **code block** displays and documents source code, configuration, or technical snippets in tasks, projects, and tickets.
It is particularly useful for development teams that need to keep examples, log output, or API structures with the relevant task. The block is easy to scan, supports color highlighting, and keeps the code in context.
A code block uses an editable monospace field. A small toolbar below the block provides additional options.
**Language selector:** Choose the programming language used by the code.
Leadtime supports syntax highlighting for many languages, including:
- JavaScript
- HTML / XML
- CSS
- JSON
- TypeScript
- Python
- SQL
---
### Collapse
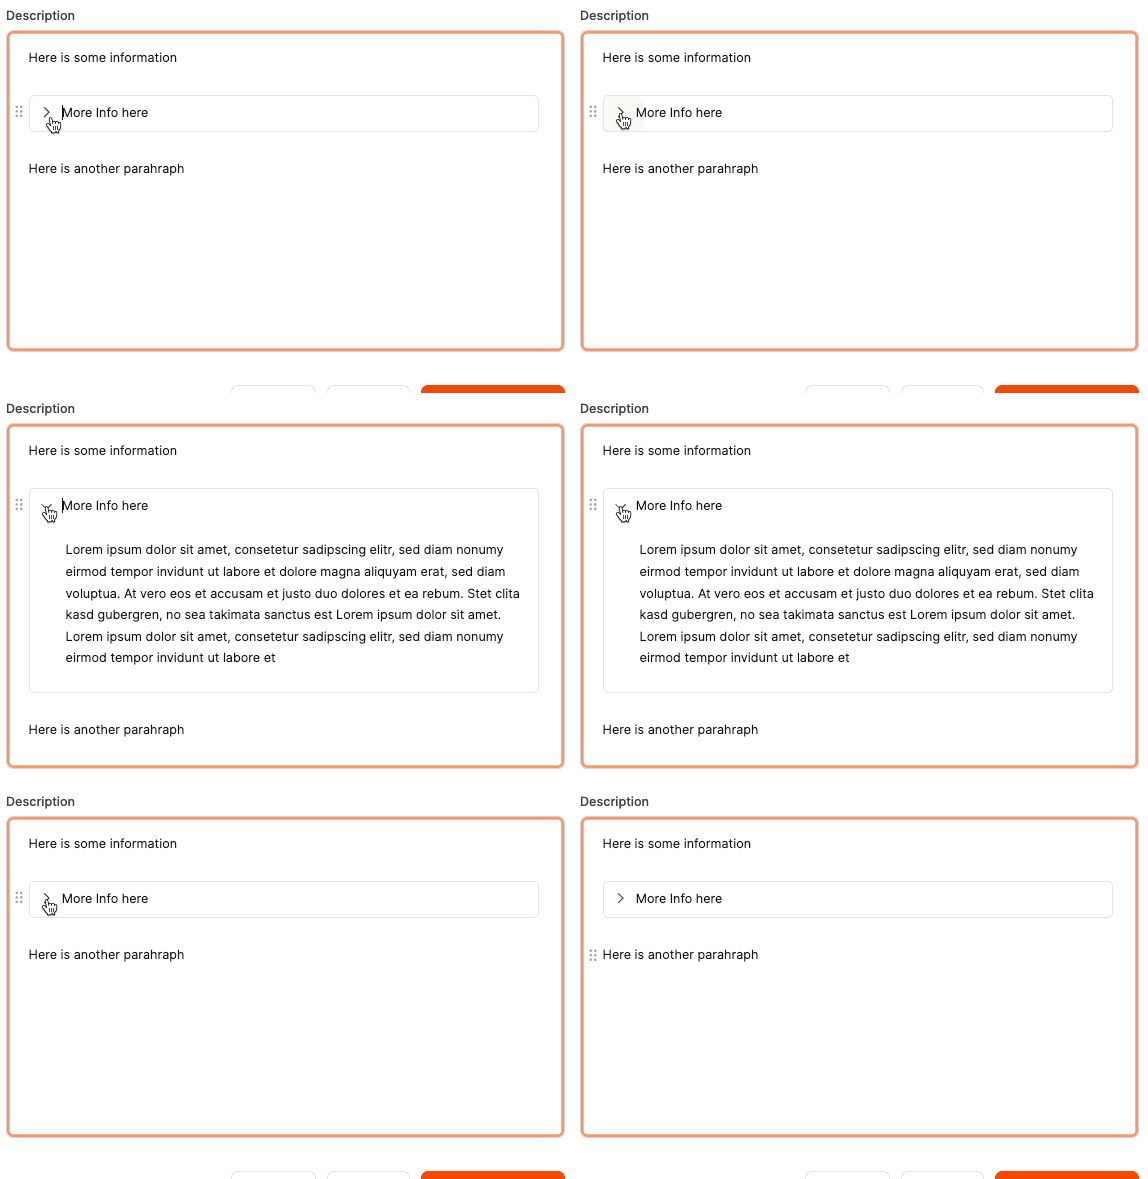 Creates a collapsible section that keeps extensive content compact.
It is useful for logs, long descriptions, or details that do not need to remain visible.
---
### AI feature: Enhance with AI (⌘ + E)
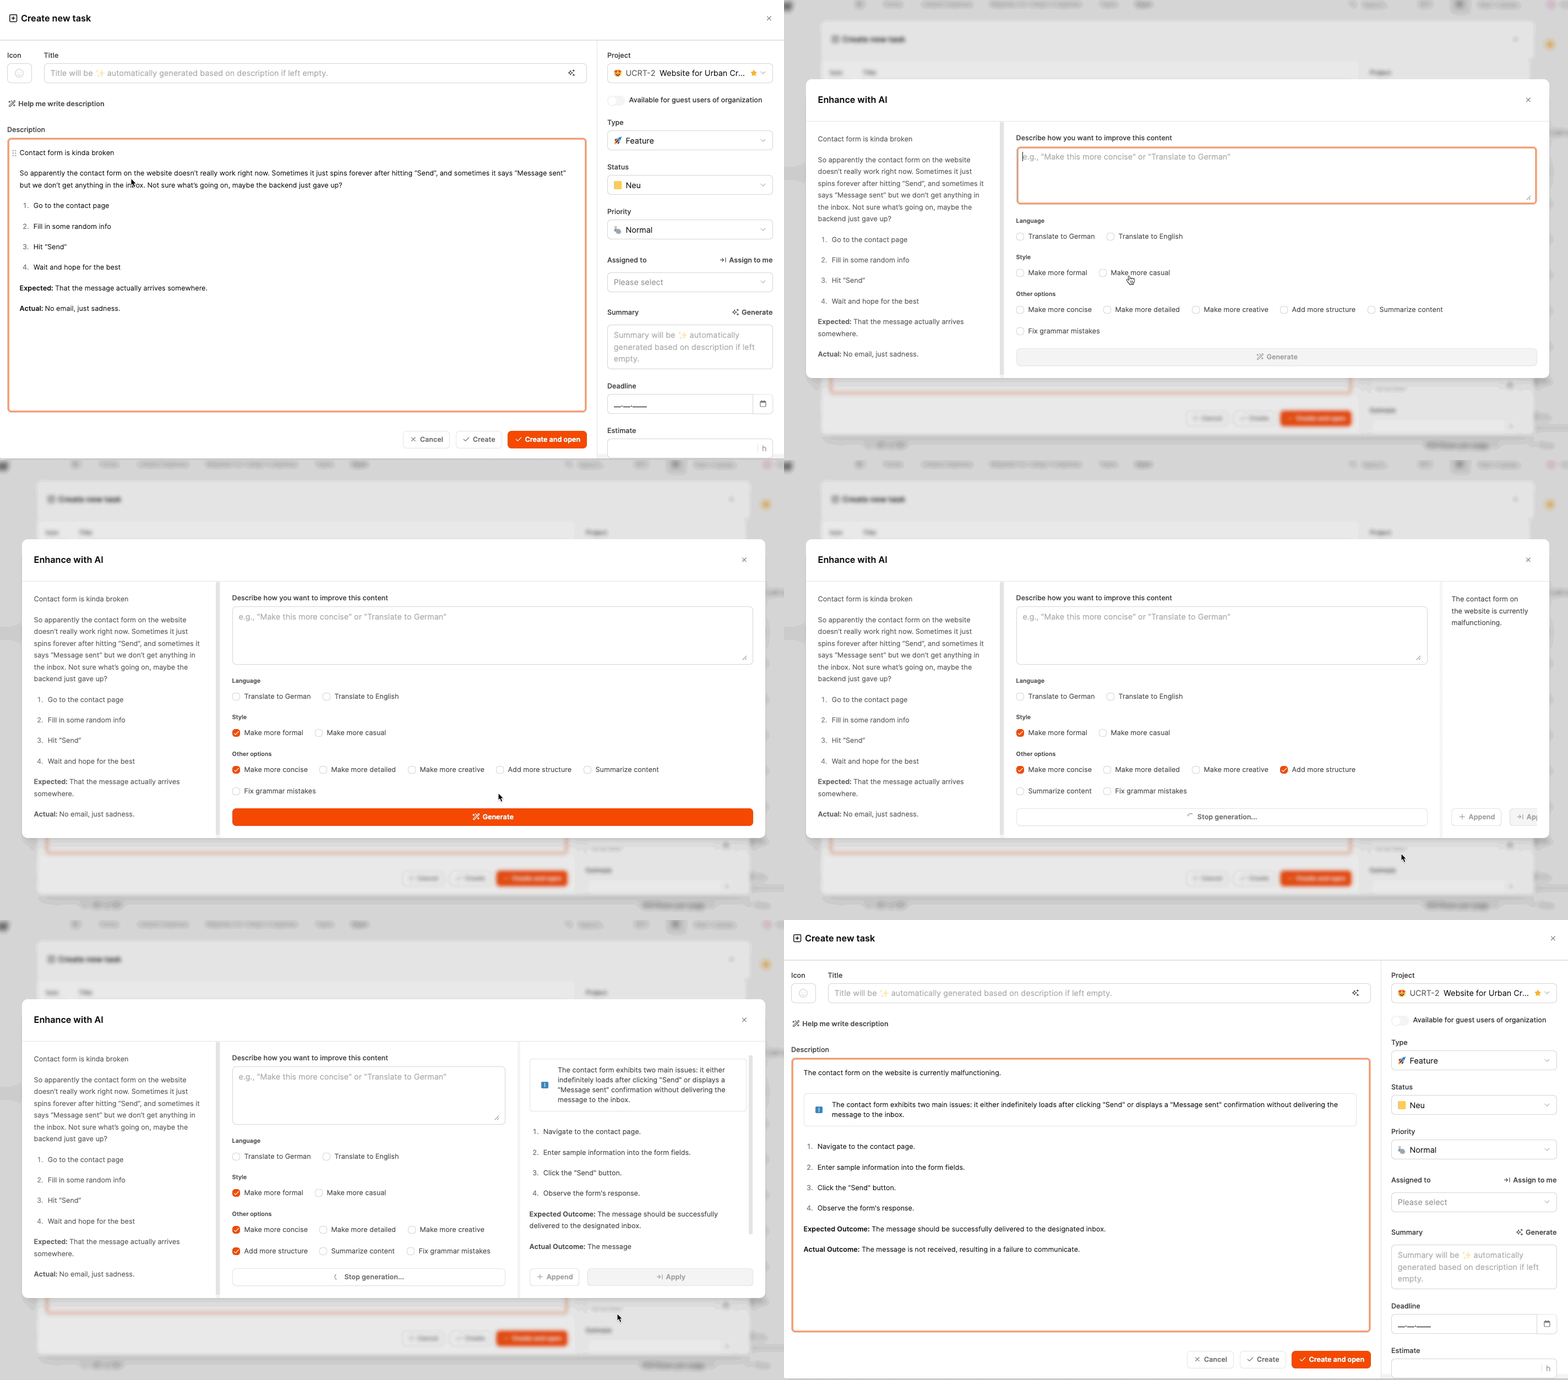
**Enhance with AI** improves, restructures, or rephrases text inside the editor.
It is especially useful when creating clear and consistent task descriptions, including bug reports, feature requests, and internal instructions.
The feature can make wording clearer, more concise, or stylistically consistent without changing the meaning.
---
### AI feature: Generate with AI (⌘ + G)
Learn more about the [AI Text Assistant](./ai-text-assistant).
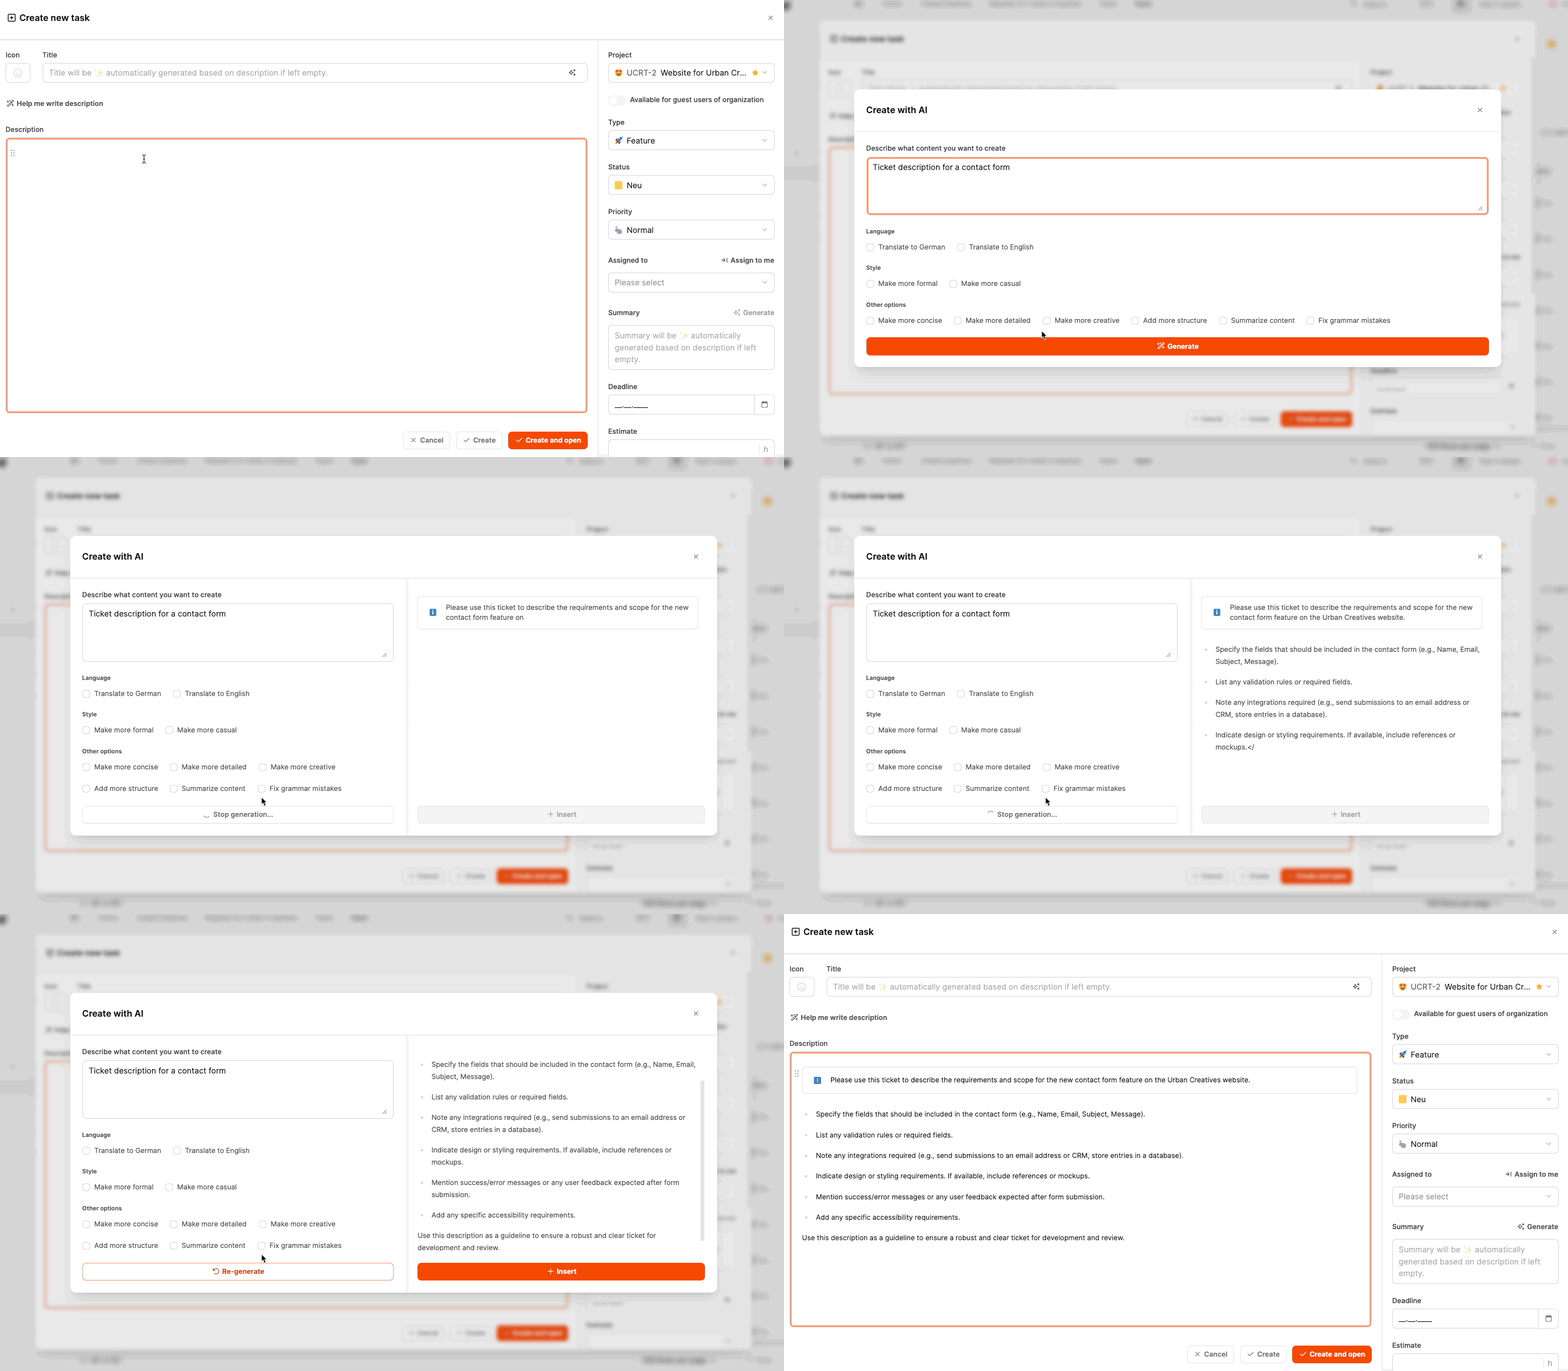
Use this feature to **generate content automatically** from a few notes or a rough description.
Leadtime turns the input into a complete text, such as a task description, bug report, or feature request, and automatically adjusts the formatting and tone.
It is particularly useful when you have a rough description that still needs to be developed.
Creates a collapsible section that keeps extensive content compact.
It is useful for logs, long descriptions, or details that do not need to remain visible.
---
### AI feature: Enhance with AI (⌘ + E)

**Enhance with AI** improves, restructures, or rephrases text inside the editor.
It is especially useful when creating clear and consistent task descriptions, including bug reports, feature requests, and internal instructions.
The feature can make wording clearer, more concise, or stylistically consistent without changing the meaning.
---
### AI feature: Generate with AI (⌘ + G)
Learn more about the [AI Text Assistant](./ai-text-assistant).

Use this feature to **generate content automatically** from a few notes or a rough description.
Leadtime turns the input into a complete text, such as a task description, bug report, or feature request, and automatically adjusts the formatting and tone.
It is particularly useful when you have a rough description that still needs to be developed.