
Create task
How to add new tasks (tickets) in Leadtime
In this section, you create new tasks (tickets) in Leadtime. Tasks are the main unit for planning, processing, and tracking work. They link projects, team members, time spent, and status — and let you keep track of all work progress.
The task list: List views and Kanban boards
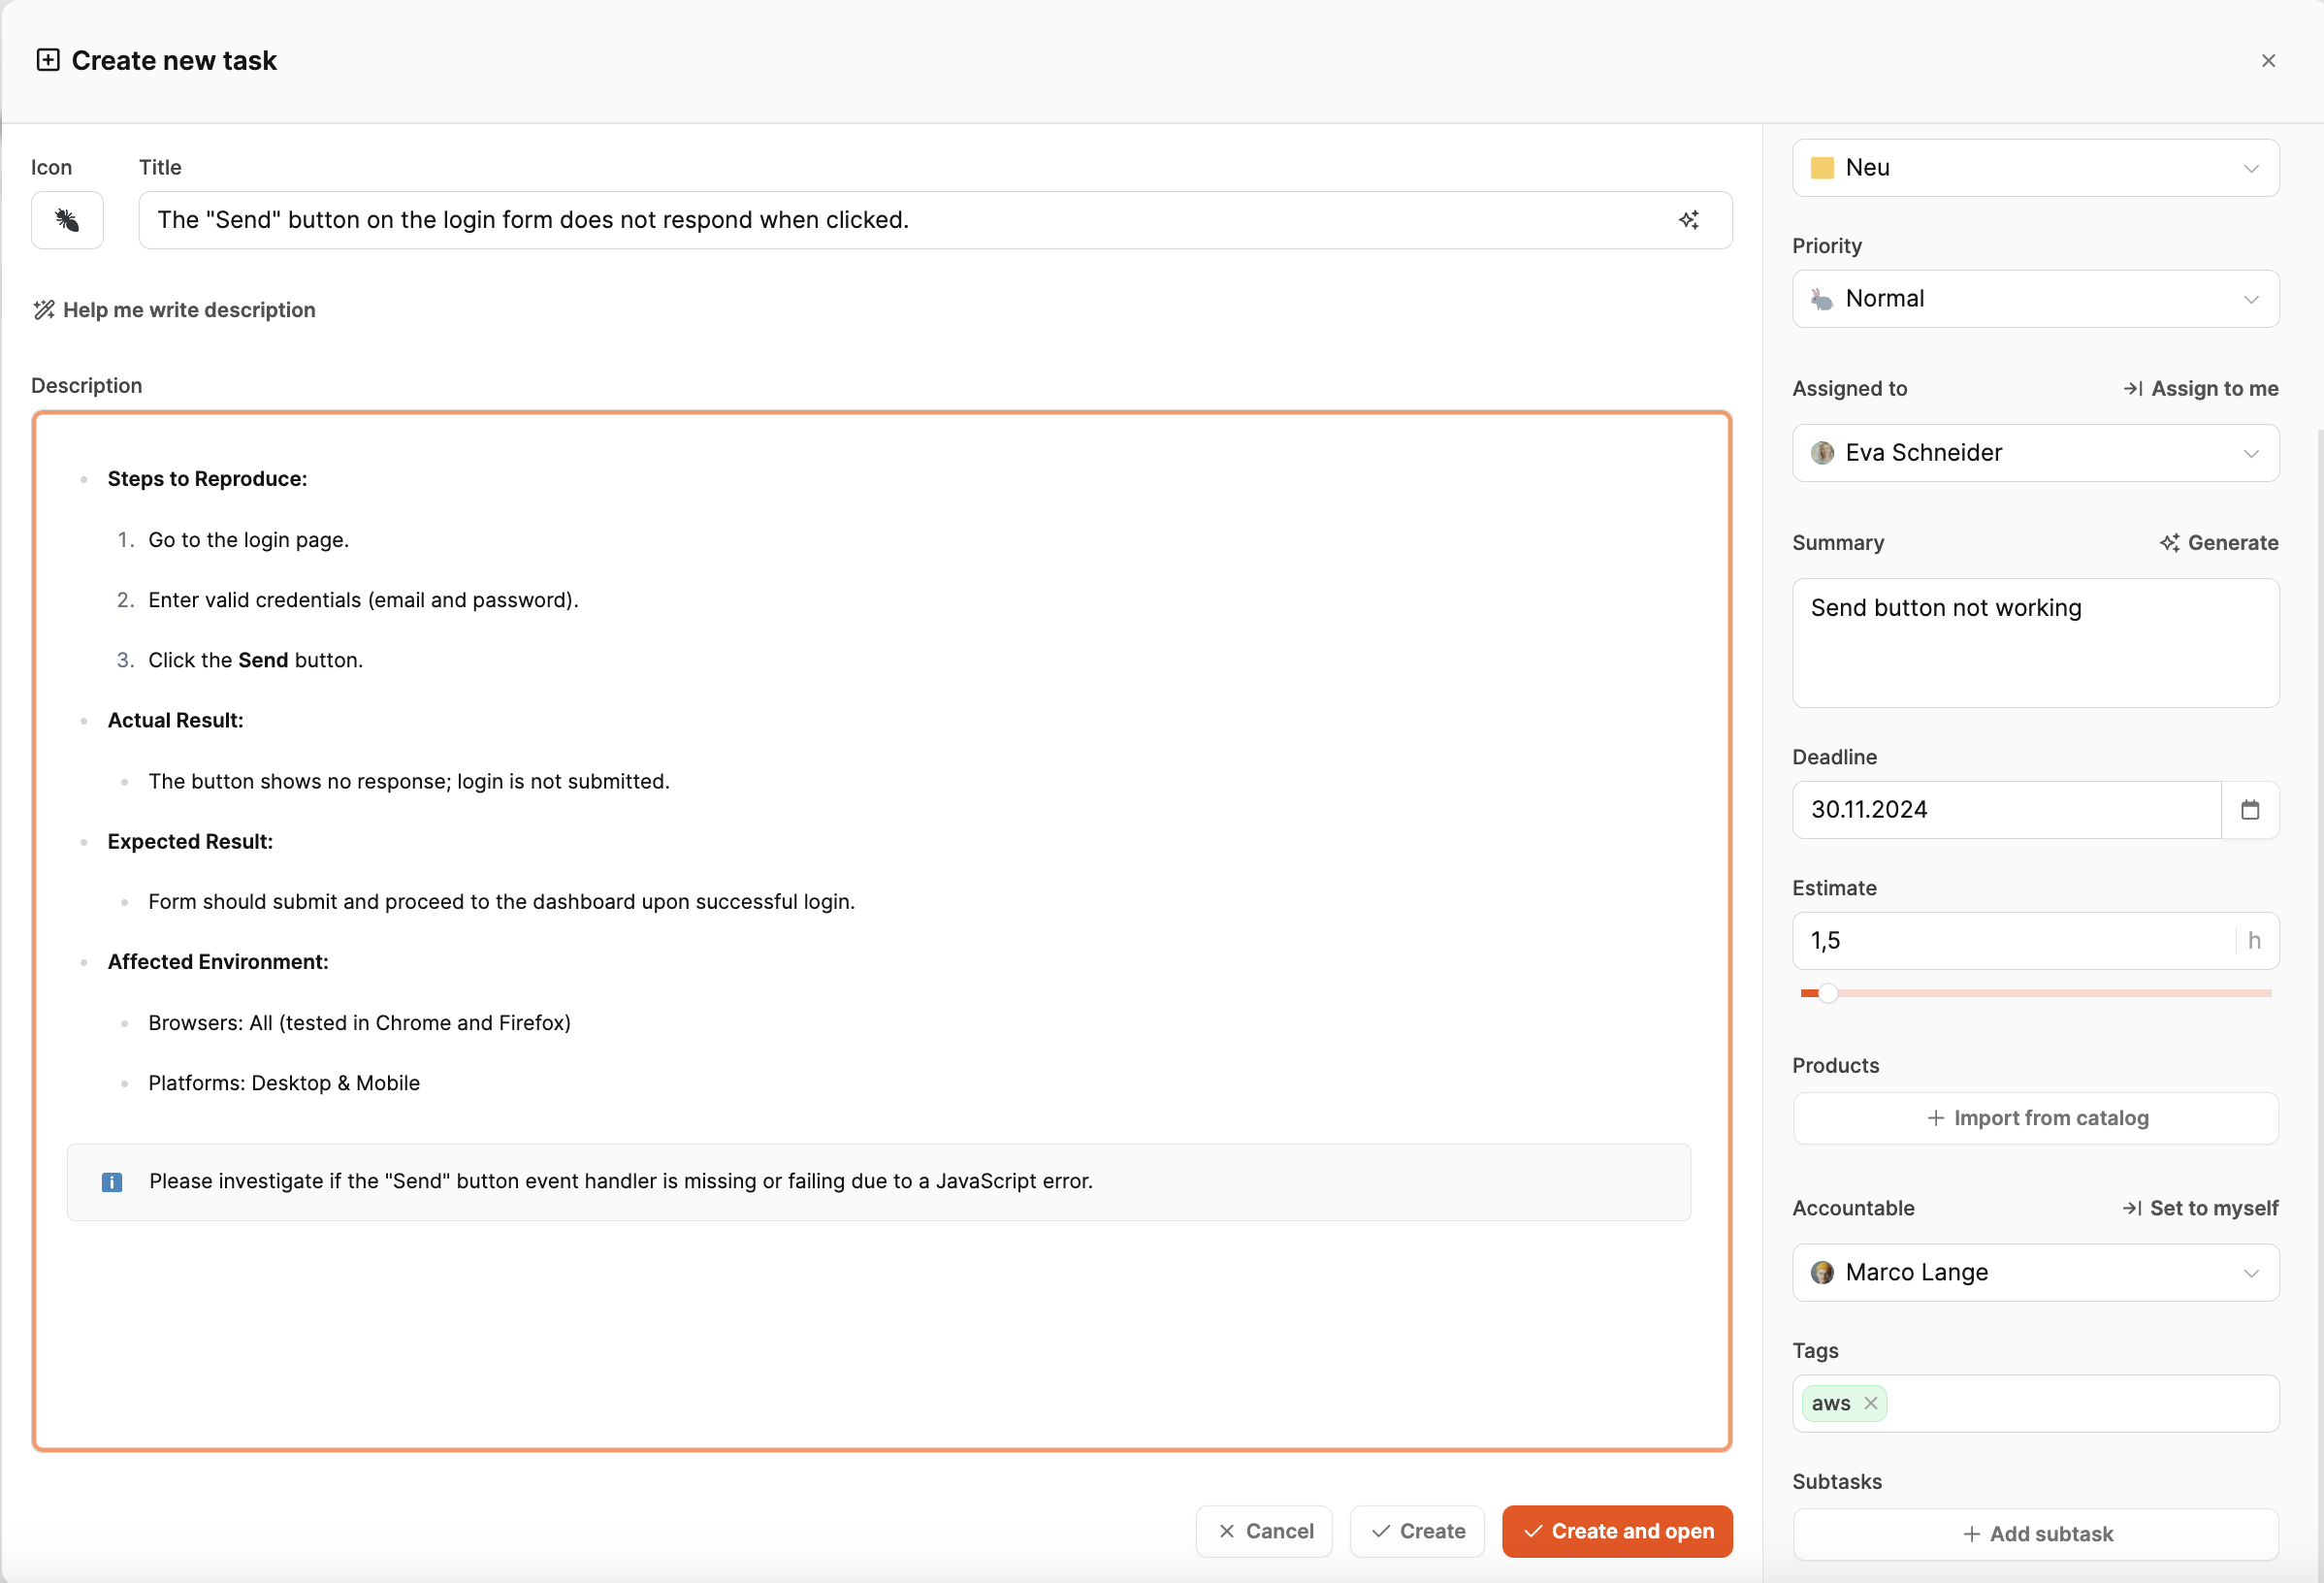
Create a task
In Leadtime, you can create tasks in several ways. Depending on the situation, you can either work directly in the project or start a new task from any view you like.
1. Via the command console
The fastest way to add a task is the console keyboard shortcut.
- Open the console (⌘ + K or Ctrl + K).
- Type the shortcut Add Task or Aufgabe hinzufügen.
- The Create New Task dialog opens immediately, regardless of your current page.
This method is useful for quickly capturing an idea, bug, or to-do without navigating to a specific project first.
To the command console
2. Right in the project
If you’re already working in a project, you can create the task right there.
- Open the project you want from the project overview.
- Click the + Add Task button in the top right.
- The Create New Task dialog opens and the project is picked automatically.
The task is created in the correct project context, which supports structured team workflows.
Header area

Icon
A visual symbol for the task – for example, lady_beetle for bugs or gear for technical work. If you don’t pick an icon, Leadtime will automatically generate a fitting emoji based on the title.
Title
Short, clear name for the task. Example: Login button doesn’t react to click. This title will show up in all overviews and should clearly state the problem or goal.
[!INFO] If you enter the task description first, Leadtime can generate a title automatically. Click the magic-wand icon on the right side of the title field. Leadtime analyzes the description and suggests a concise title, saving time and keeping titles consistent.
Main area
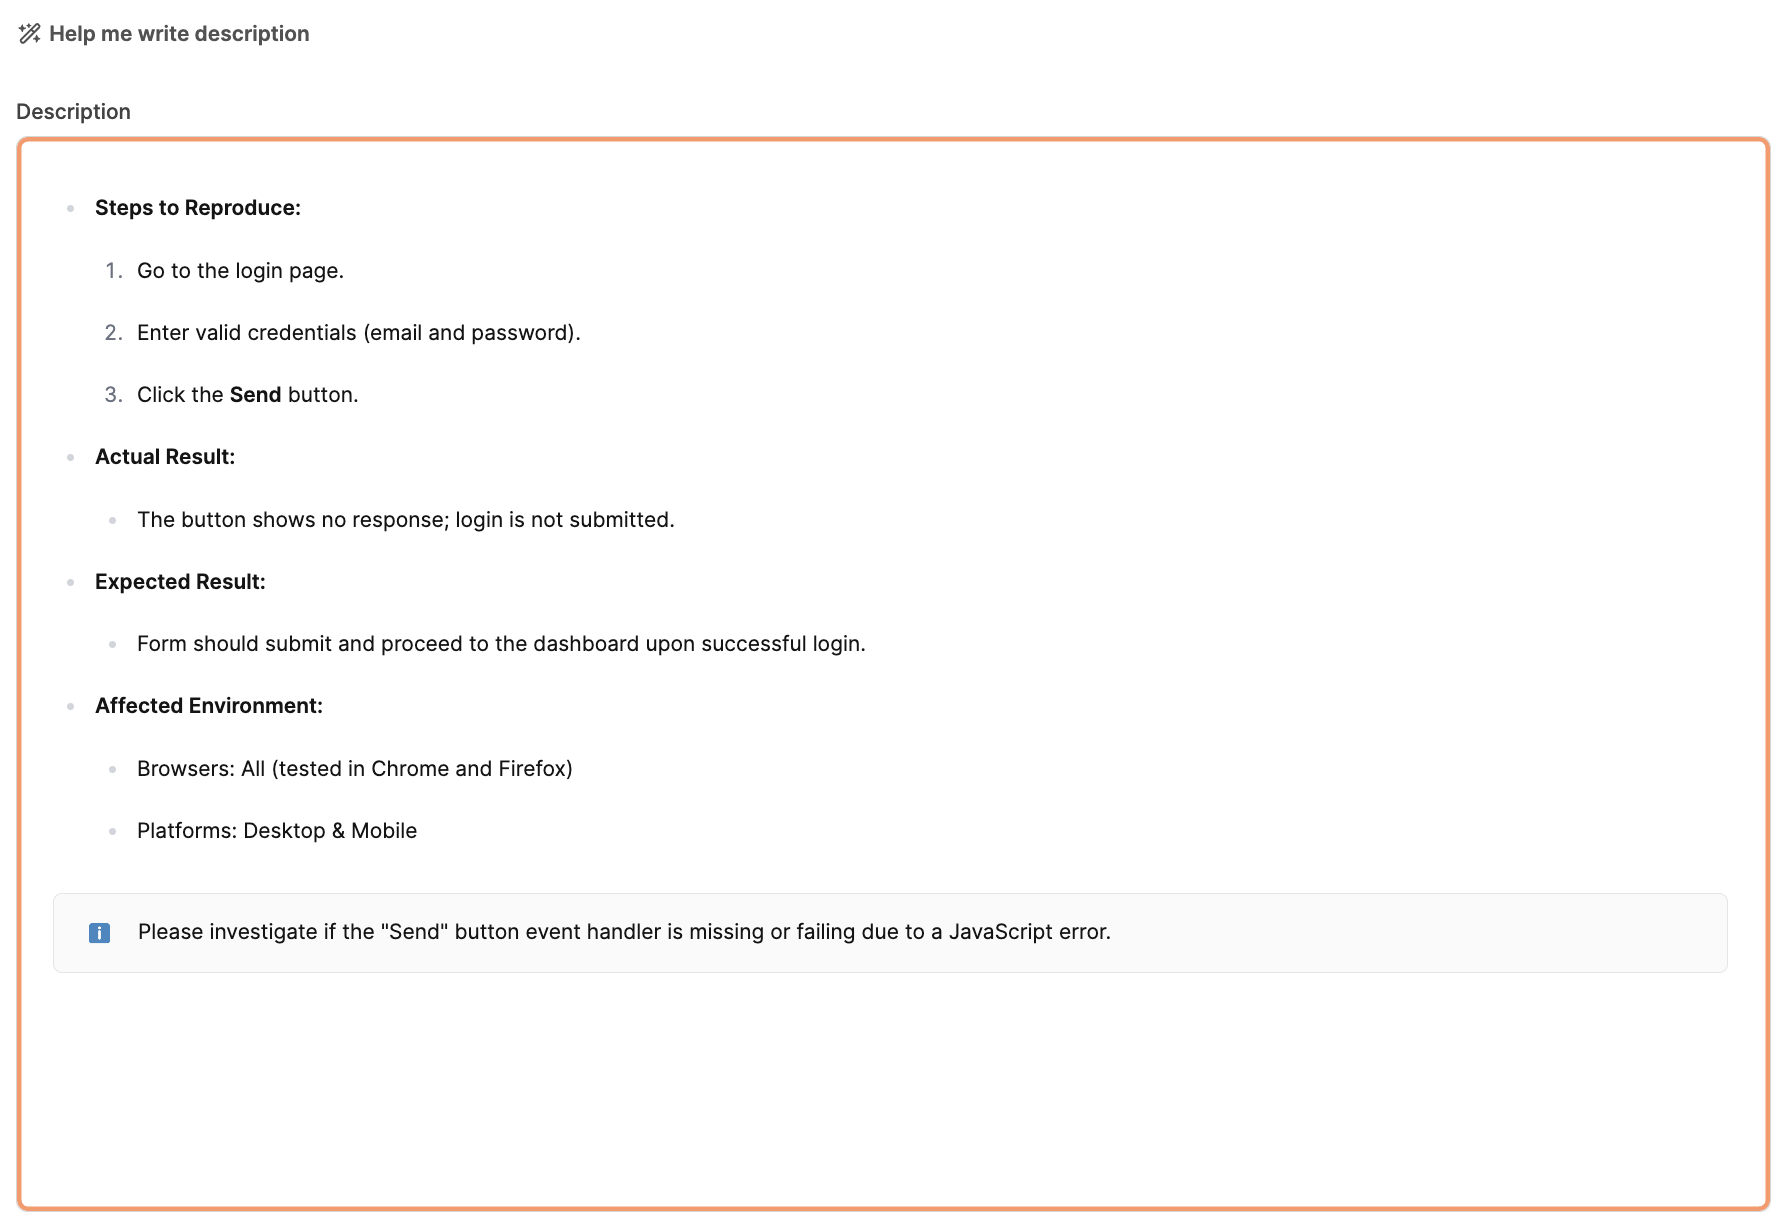
Description
Here you describe the content of the task in detail. The editor supports structured text formats – like lists, headings or formatting – and is great for technical or organizational instructions.
The Leadtime text editor: The text editor
The AI text assistant: AI Text Assistant
[!INFO] The AI Text Assistant can help you create the ticket. This makes complex tickets faster and more precise to draft, especially for technical or recurring work.
Right sidebar
Project
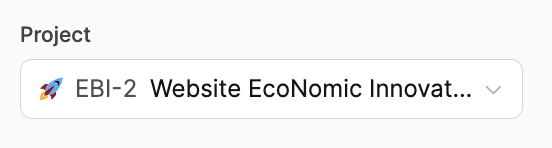
Pick the project this task belongs to. This makes sure tickets always have a clear organizational context.
About projects
Available for guest users of the organization

The option “Available for guest users of organization” means:
If you turn this switch on, the ticket will also be visible for guest users of your organization.
- Disabled (default): Only internal team members with access to the project can see the ticket.
- Enabled: Guest users of the organization can also view the ticket and—depending on permission—can comment or follow the status.
This way, you can control which tasks are transparently shared with external stakeholders.
About guest users
Type
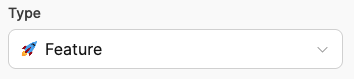
Determines the category of the task, e.g.:
- Feature (new function)
- Bug (error)
- Management (coordination task)
- Server problem, information security requirement etc. The available types depend on your workspace settings.
Manage task types: Custom task types
Status
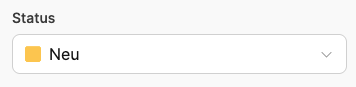
Shows which phase the task is currently in – e.g. New, In Progress or Completed. The status changes as you work on the task.
Manage task status: Custom task status
Priority
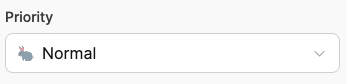
Rates how urgent the task is. Default values are Low, Normal, High or Critical. Priority helps control workflow and avoid bottlenecks.
Assigned to
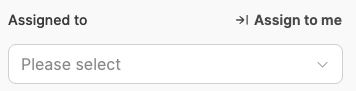
This shows the person who is currently working on the task. This person is responsible for the next editing step.
Summary
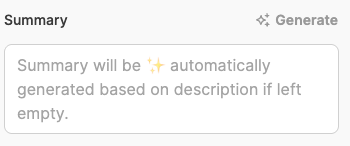
The summary serves as a short overview of the ticket. It helps you get a quick look at tasks in list views or Kanban boards without having to open the full description.
Summarize in one or two punchy sentences what the task is about here – for example, “Login button doesn’t respond to clicks – probably missing event handler.”
Alternatively, you can let Leadtime do the work:
Click the magic-wand icon to generate the summary automatically from the task description. Leadtime analyzes the text and creates a clear, concise summary.
This saves time and keeps task overviews consistent, especially in large projects with many parallel tickets.
Due date
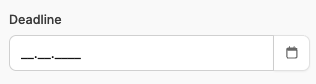
Task end date. This field helps you keep deadlines and reminds you in time about overdue tasks.
Estimate
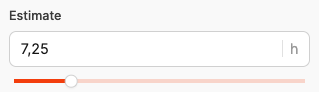
In this field you enter the estimated duration of the task in hours. The estimate is the base for capacity planning, resource allocation and later the actual vs. planned comparison in time tracking.
Enter the realistic time needed here that an experienced team member will probably require to fully finish the task – including research, implementation, and possible testing.
This information matters because it:
- helps project management create realistic schedules,
- lets you spot bottlenecks early,
- and later allows a variance analysis between estimated and actual effort.
- You can also send the client anexpress offer based on the estimate
The estimate can be adjusted at any time if the scope of work changes during the project. It also forms the basis for automatic calculations in the capacity chart and in project analytics.
More about estimating working hours
Products
This field is optional, but it plays a key role when the task billable services includes – for example, as part of express offers or spontaneous customer requests.
Here you can select one or more products or services from your catalog and link them directly to the task. This link lets you clearly match the work done and the corresponding billable item.
A typical use case is creating express offers:
If a customer suddenly asks for an extra service, you can log the ticket, instantly add the right product from the catalog (for example, “Bug fixing package 2 h” or “Landing page design tweak”) and generate a quick, transparent offer in just a few clicks – right from the ticket.
That saves time, avoids back-and-forth, and makes sure all billing info is documented seamlessly.
About the product catalog: Product catalog
Responsible
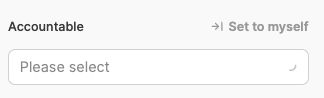
This field defines the person who ultimately has overall responsibility for completing the task. This isn’t necessarily the person currently working on it (see the field Assigned to), but rather the case worker or project owner who, within the company, is content-wise or organizationally responsible for this process.
In practice, this means:
- The responsible person is the one who stands in front of the customer or internal stakeholders for the correct completion and the result of the ticket.
- The assignee, on the other hand, is the person who takes the next concrete step – for example, a developer, designer, or technician.
Example:
A customer reports a bug in some software. The ticket gets assigned to a developer who fixes the bug. But the responsible person remains the project manager or customer support rep who’s handling communication with the client and making sure the issue is fully solved and properly documented.
This way, every task in the company always has a content-wise responsible contact who keeps an eye on the topic from start to finish – no matter who’s working on it right now.
Tags
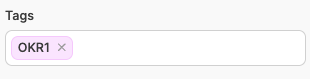
Tags in Leadtime let you flexibly categorize and filter your tasks – both within a project and across projects. They help you assign a task to a certain type or theme so that you can quickly find it later or pull analytics for similar tasks.
A key use case here is clustering similar task types:
For example, you can assign the tag “Interfaces” to all tasks related to interface development. That makes it easy to group those tasks in your task list or in your stats. This is especially useful if some activities are regularly handled by specialists – like a certain developer who’s focused on API integrations.
Tags are also super important in the context of project components and epics:
If a project is split into different components (like frontend, backend, automation), the related tasks automatically get fitting tags. These auto-added tags help highlight which component or epic a ticket belongs to.
That gives you a clear, structured connection between individual tasks, topics, and responsibilities – no matter which project or sub-project they’re in. Tags are a key tool to build transparent, scalable workflows in complex projects.
All about tags: Tags in tasks
Subtasks
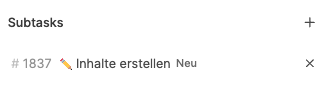
In Leadtime, subtasks are used to break down complex tasks into clearly defined steps. They help organize large work packages better, separate responsibilities, and keep track of progress precisely.
Each subtask is its own ticket with its own status, description, and, if needed, its own responsibility – but it’s still logically connected to the main task. This way, it’s clear which subtasks are already done and which are still open
Typical use cases:
- Breaking down bigger deliverables: A main task like “Update website” can be split into subtasks like “Homepage design update”, “Check texts” and “Test forms”.
- Cross-team collaboration: If several specialists work on different aspects of the same task (like designers, developers, QA), each subtask can be assigned to the right person.
- Step-by-step processing: Subtasks are great for keeping a task with dependencies clear – for example “Create content”, “Review content”, “Release content”.
About subtasks
Save task
You can pick from two options below:
- Create: Save task without opening it right away.
- Create and open: Save task and open it right away in detail mode.
The task list: List views and Kanban boards