
The Time Tracker
The time tracker enables real-time measurement of working hours directly in the header area of the application.
The Time tracker is located at the top of every page in Leadtime. It provides real-time time tracking of work activities and makes it possible to measure working time directly as the work is being done. In contrast to retroactive recording on projects or tasks, time is recorded live here - which leads to more precise data, better time awareness and greater discipline in recording.
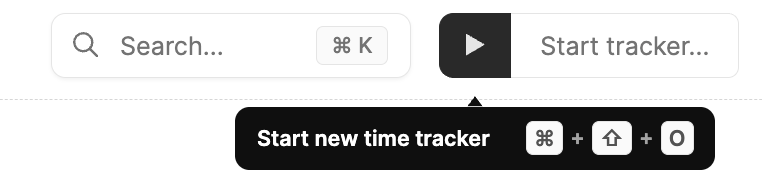
The time tracker can be started, paused, continued or ended without any detours and remains visible throughout the entire work session. This means that every activity can be documented precisely without having to later add how long you worked on something.
Recommendation: real time instead of an addendum
Time recording via the time tracker is more precise than subsequent booking.
While the retroactive method (Time entry after completing a task) is more of a rough estimate, the real-time measurement in the tracker enables exact documentation of the actual effort.
This creates a realistic picture of how much time certain activities actually take - a basis for precise project planning and fair performance evaluation.
Retroactive time booking: Time booking for projects and tasks
Starting a time tracker
There are two ways to start time tracking:
Quick start
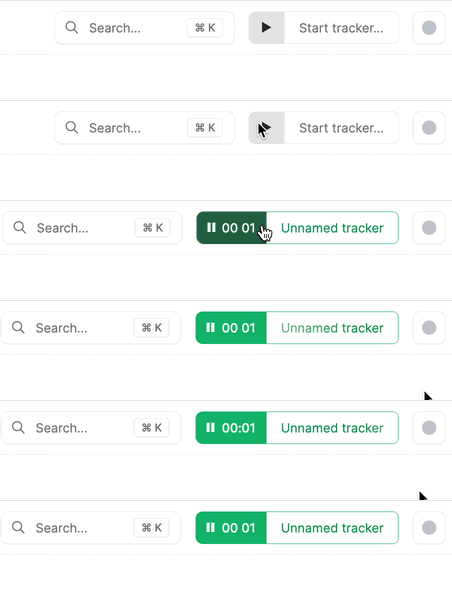
Using the play button arrow_forward in the header bar, the tracker can be started immediately - ideal if you want to begin an activity spontaneously. The details (project, task, activity) can be added later.
Key combination: ⌘ + ⇧ + O
Detailed start
If you already know what you are working on, click on the right gray area of the button.
This opens the dialog “Optional tracker metadata”, where you can specify task, project, activity and comment directly.
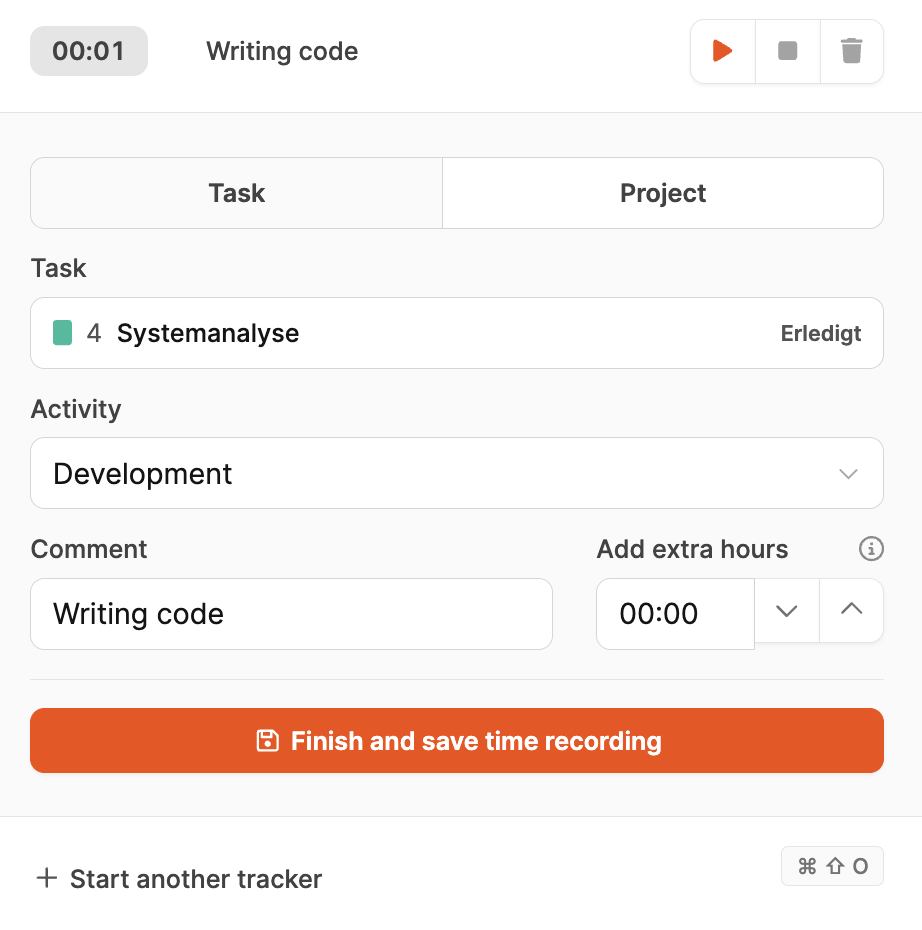
This dialog allows you to specifically assign your time booking. The following fields are available:
-
Task/project
- Choose whether you want the time to be booked for a specific task or an entire project.
- The Task view shows available tickets with status (e.g. In progress).
- Alternatively, time can be recorded at the project level if the activities are general.
-
Activity
- Selection from predefined work activities such as Development, Testing or management.
- Used to categorize work in reports.
-
Comment
- Optional field for additional information, e.g. “Writing code” or “Design review meeting”.
- Helps to better understand the activity during later evaluation.
-
Additional hours
- Allows you to add time if the tracker started late.
- The duration can be added manually in hours and minutes.
Once all fields are filled in, click “Start time tracking” to begin the real-time measurement.
Running tracker

While the tracker is active, the running time is displayed in the header.
Through the ongoing dialog you can:
- Change the activity or comment
- Pause the tracker (pause) to record interruptions
- Stop the tracker (stop) as soon as the work is finished
- Save the recorded time to document it permanently
The button “Finish and save time recording” ends the recording and saves all information about the task, activity and comment.
Multiple trackers at the same time
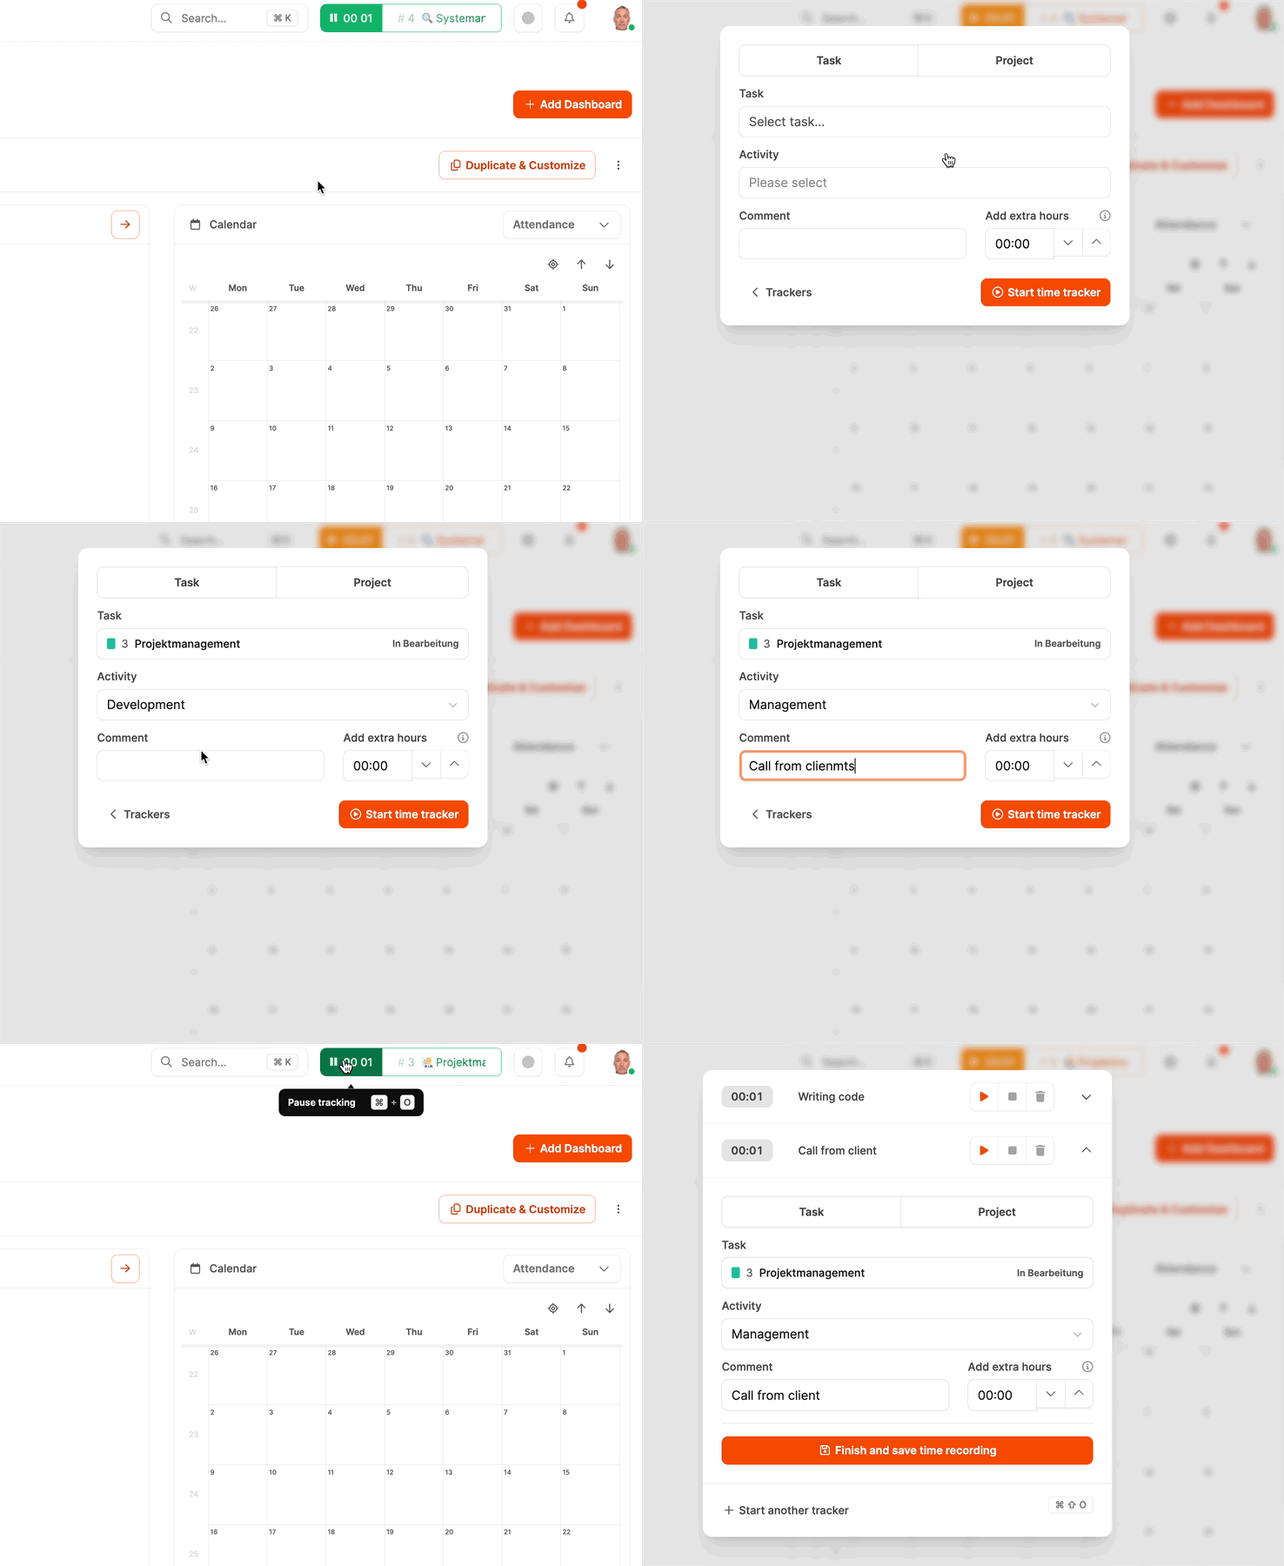
Leadtime lets you use several trackers in parallel.
This is particularly useful when a short-term interruption occurs while work is in progress.
Example:
You are working on the System analysis task but receive an urgent phone call.
With “Start another tracker” you can start a second tracker to record the time for the call separately.
The original tracker is automatically parked and resumed later.
In this way you avoid overlaps and maintain the temporal separation of different activities.
Annoying Mode
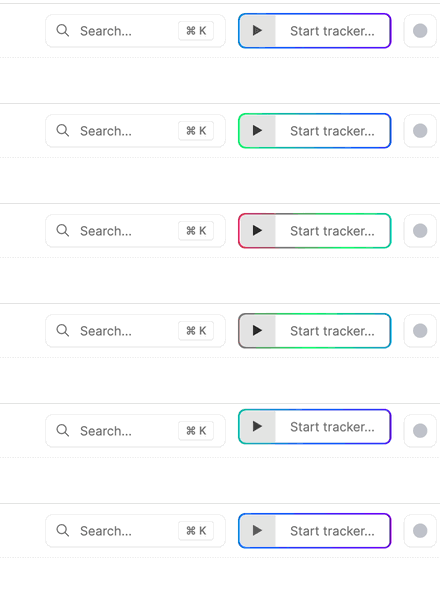
To ensure that real-time recording is carried out consistently, there is Annoying Mode.
It reminds employees to start their working hours on time.
- If no tracker is started within the defined interval (e.g. 5 minutes), a reminder appears.
- The mode can be activated centrally under Workspace Settings → General Settings, or individually per Employee profile.
- The aim is to promote regular, accurate and up-to-date time recording.

→ Configure Annoying Mode workspace-wide under: General settings
→ Switch Annoying Mode on and off for an individual employee: Employee basics
Notification options
In the employee settings (Your company → Employees → [Select employee] → Basics → Working time and salary block → Details), you can also activate automatic notifications:
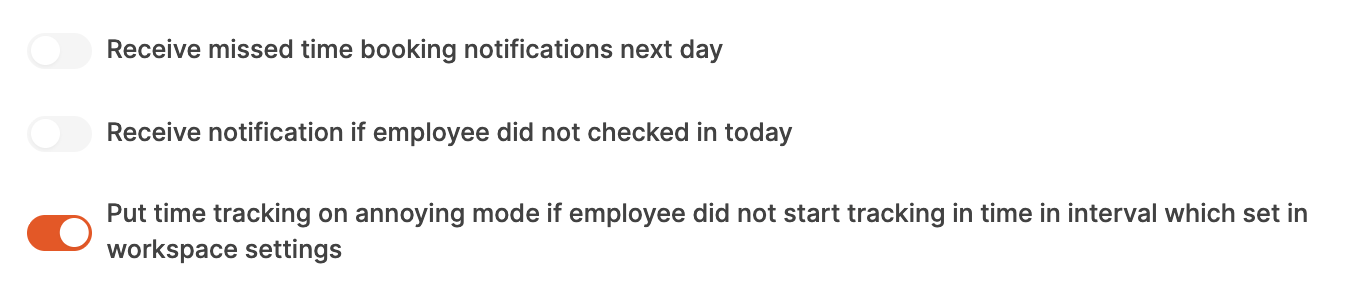
- A reminder when time tracking has not been started
- A notice when a check-in time is missing
- Activation of Annoying Mode after an individually defined period of time
These features ensure that time tracking is not forgotten or postponed.
Configure employee notification options: Employee basics