
Data Imports
Import data from external systems
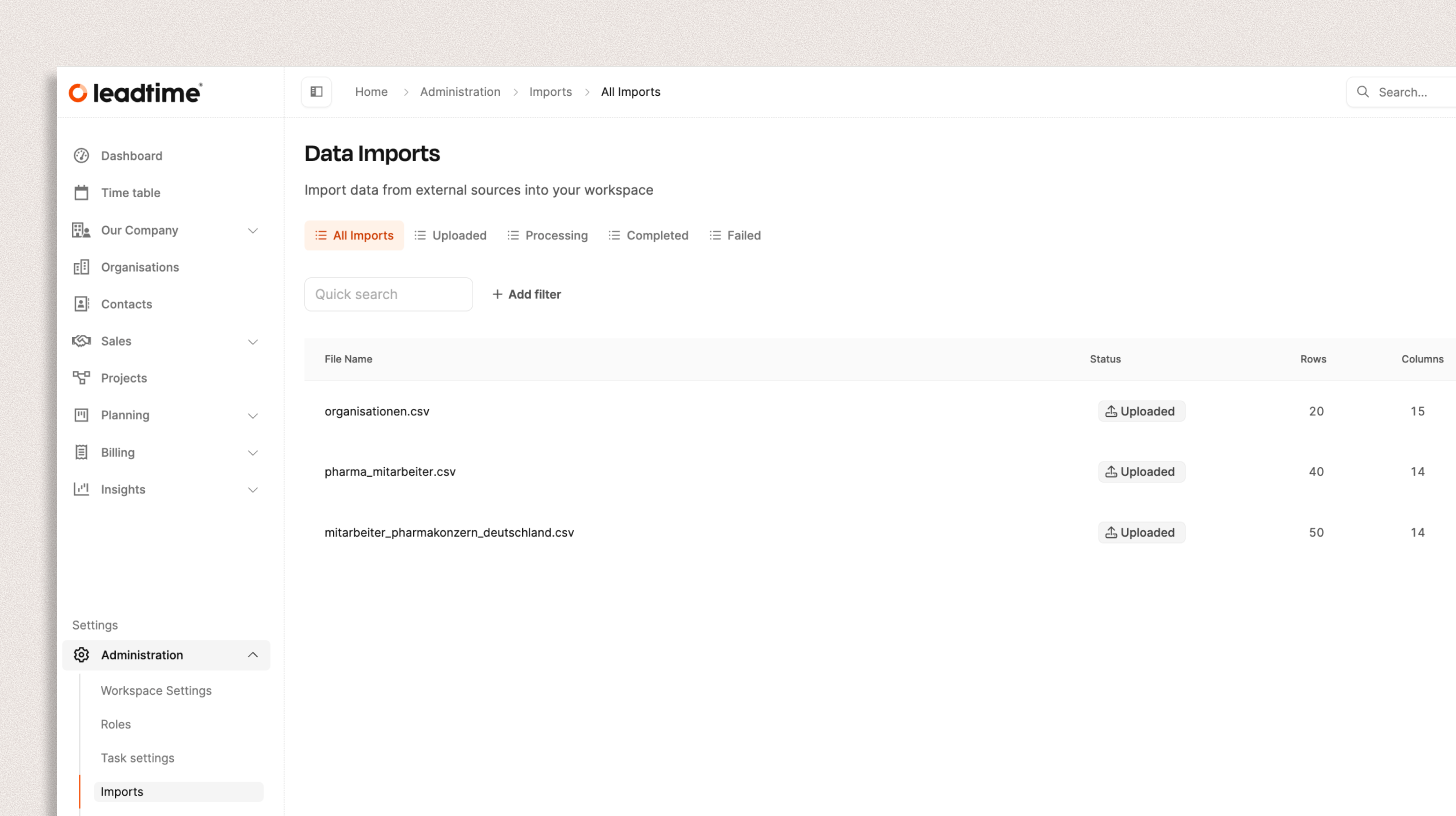
The Data imports section is located under Administration → Data imports. Use it to import data into Leadtime from external sources such as CRM, HR, or ERP systems. You can create or update large volumes of records, including employees, organizations, projects, and tasks.
[!SUCCESS] You can find sample import files here: https://www.dropbox.com/scl/fi/7pblrfdko3bocop7ymam4/import-examples.zip?rlkey=dc0ig9bn32z6jb9jeysxbme8a&st=zdffnngf&dl=0
Purpose
The import feature brings existing datasets into Leadtime quickly and consistently.
For example, you can transfer employee lists, customer data, or project details from existing systems without creating each record manually.
Importable entities
→ Employees of your own company: Employee overview
→ Organizations: Create organizations
→ Employees of organizations: Organizations – Members
→ Projects: Projects
→ Tasks and task updates: Create task
Import process, step by step
1. Select file
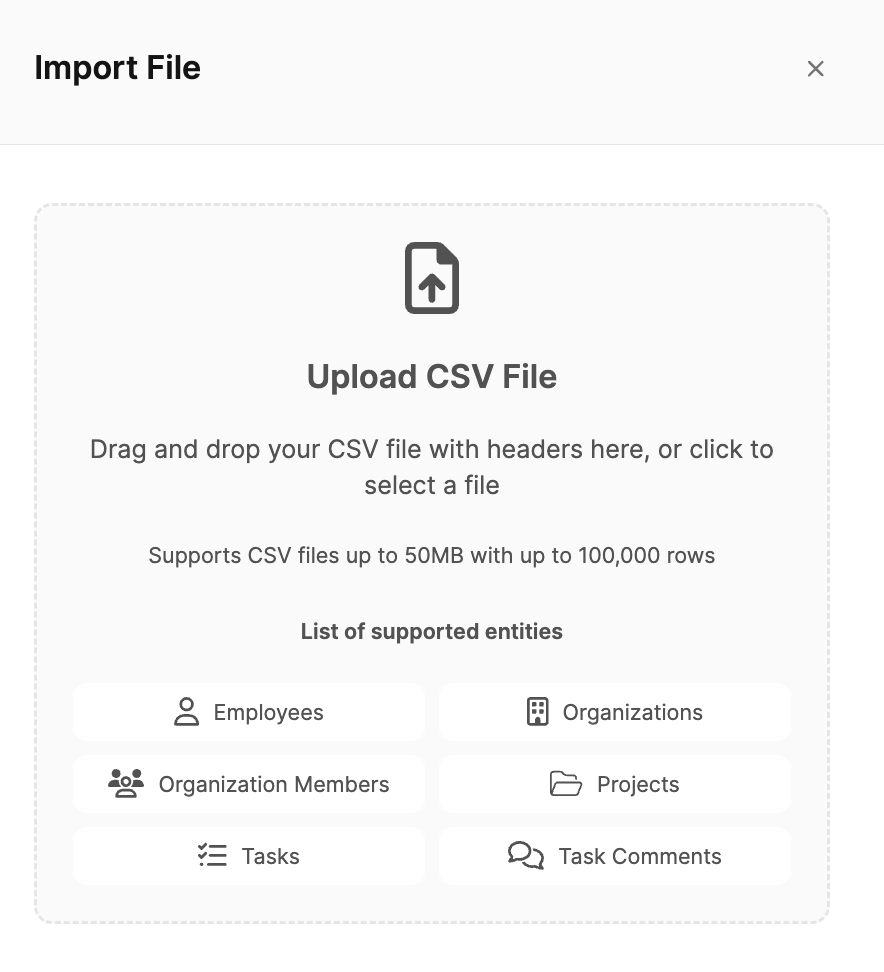
Open Administration → Data imports and click Import file.
Drag a CSV file into the upload field or select it manually.
Leadtime supports:
- CSV files up to 50 MB
- up to 100,000 rows per file
The following entities can be imported into Leadtime:
- Employees – quickly create team members, including their roles, contact details, and positions.
- Organizations – transfer external company data for customers, partners, or suppliers.
- Organization members – link existing organizations to their contacts or employees.
- Projects – transfer active or completed projects with their most important metadata.
- Tasks – import tickets from other systems. Each imported ticket becomes a corresponding task containing the original ticket description.
- Task comments – import a ticket’s history and updates, such as status changes or replies from other users.
[!INFO] If you want to import tickets, you must first import the tasks and then the associated comments.
2. Analysis and automatic mapping
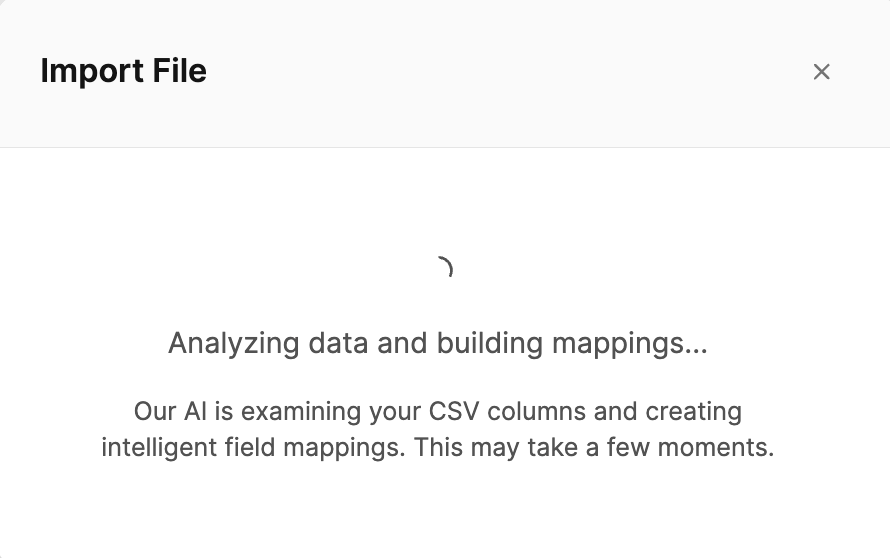
After upload, the system checks the file automatically and uses an AI layer to create a field mapping.
Leadtime recognizes the column headers in your CSV file and maps them to suitable system fields (for example, First name → First Name).
You will then see this message: “File uploaded successfully! AI mappings have been generated automatically – please review them before proceeding.”
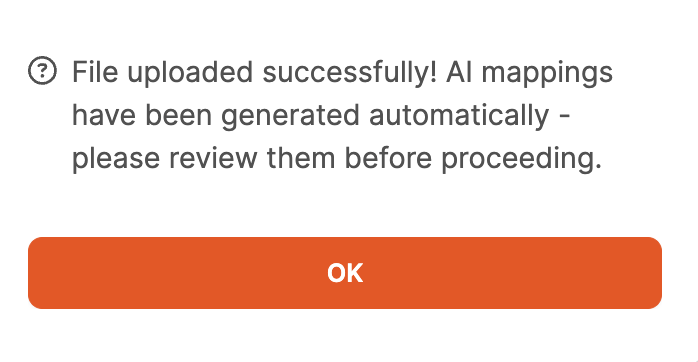
Review the mapping carefully and adjust it where necessary.
[!WARNING] In rare cases, the automatic field mapping (Mapping AI) may encounter an import error caused by a temporary issue with the third-party service it uses. If this happens, restart the import or map the fields manually.
3. Data mapping
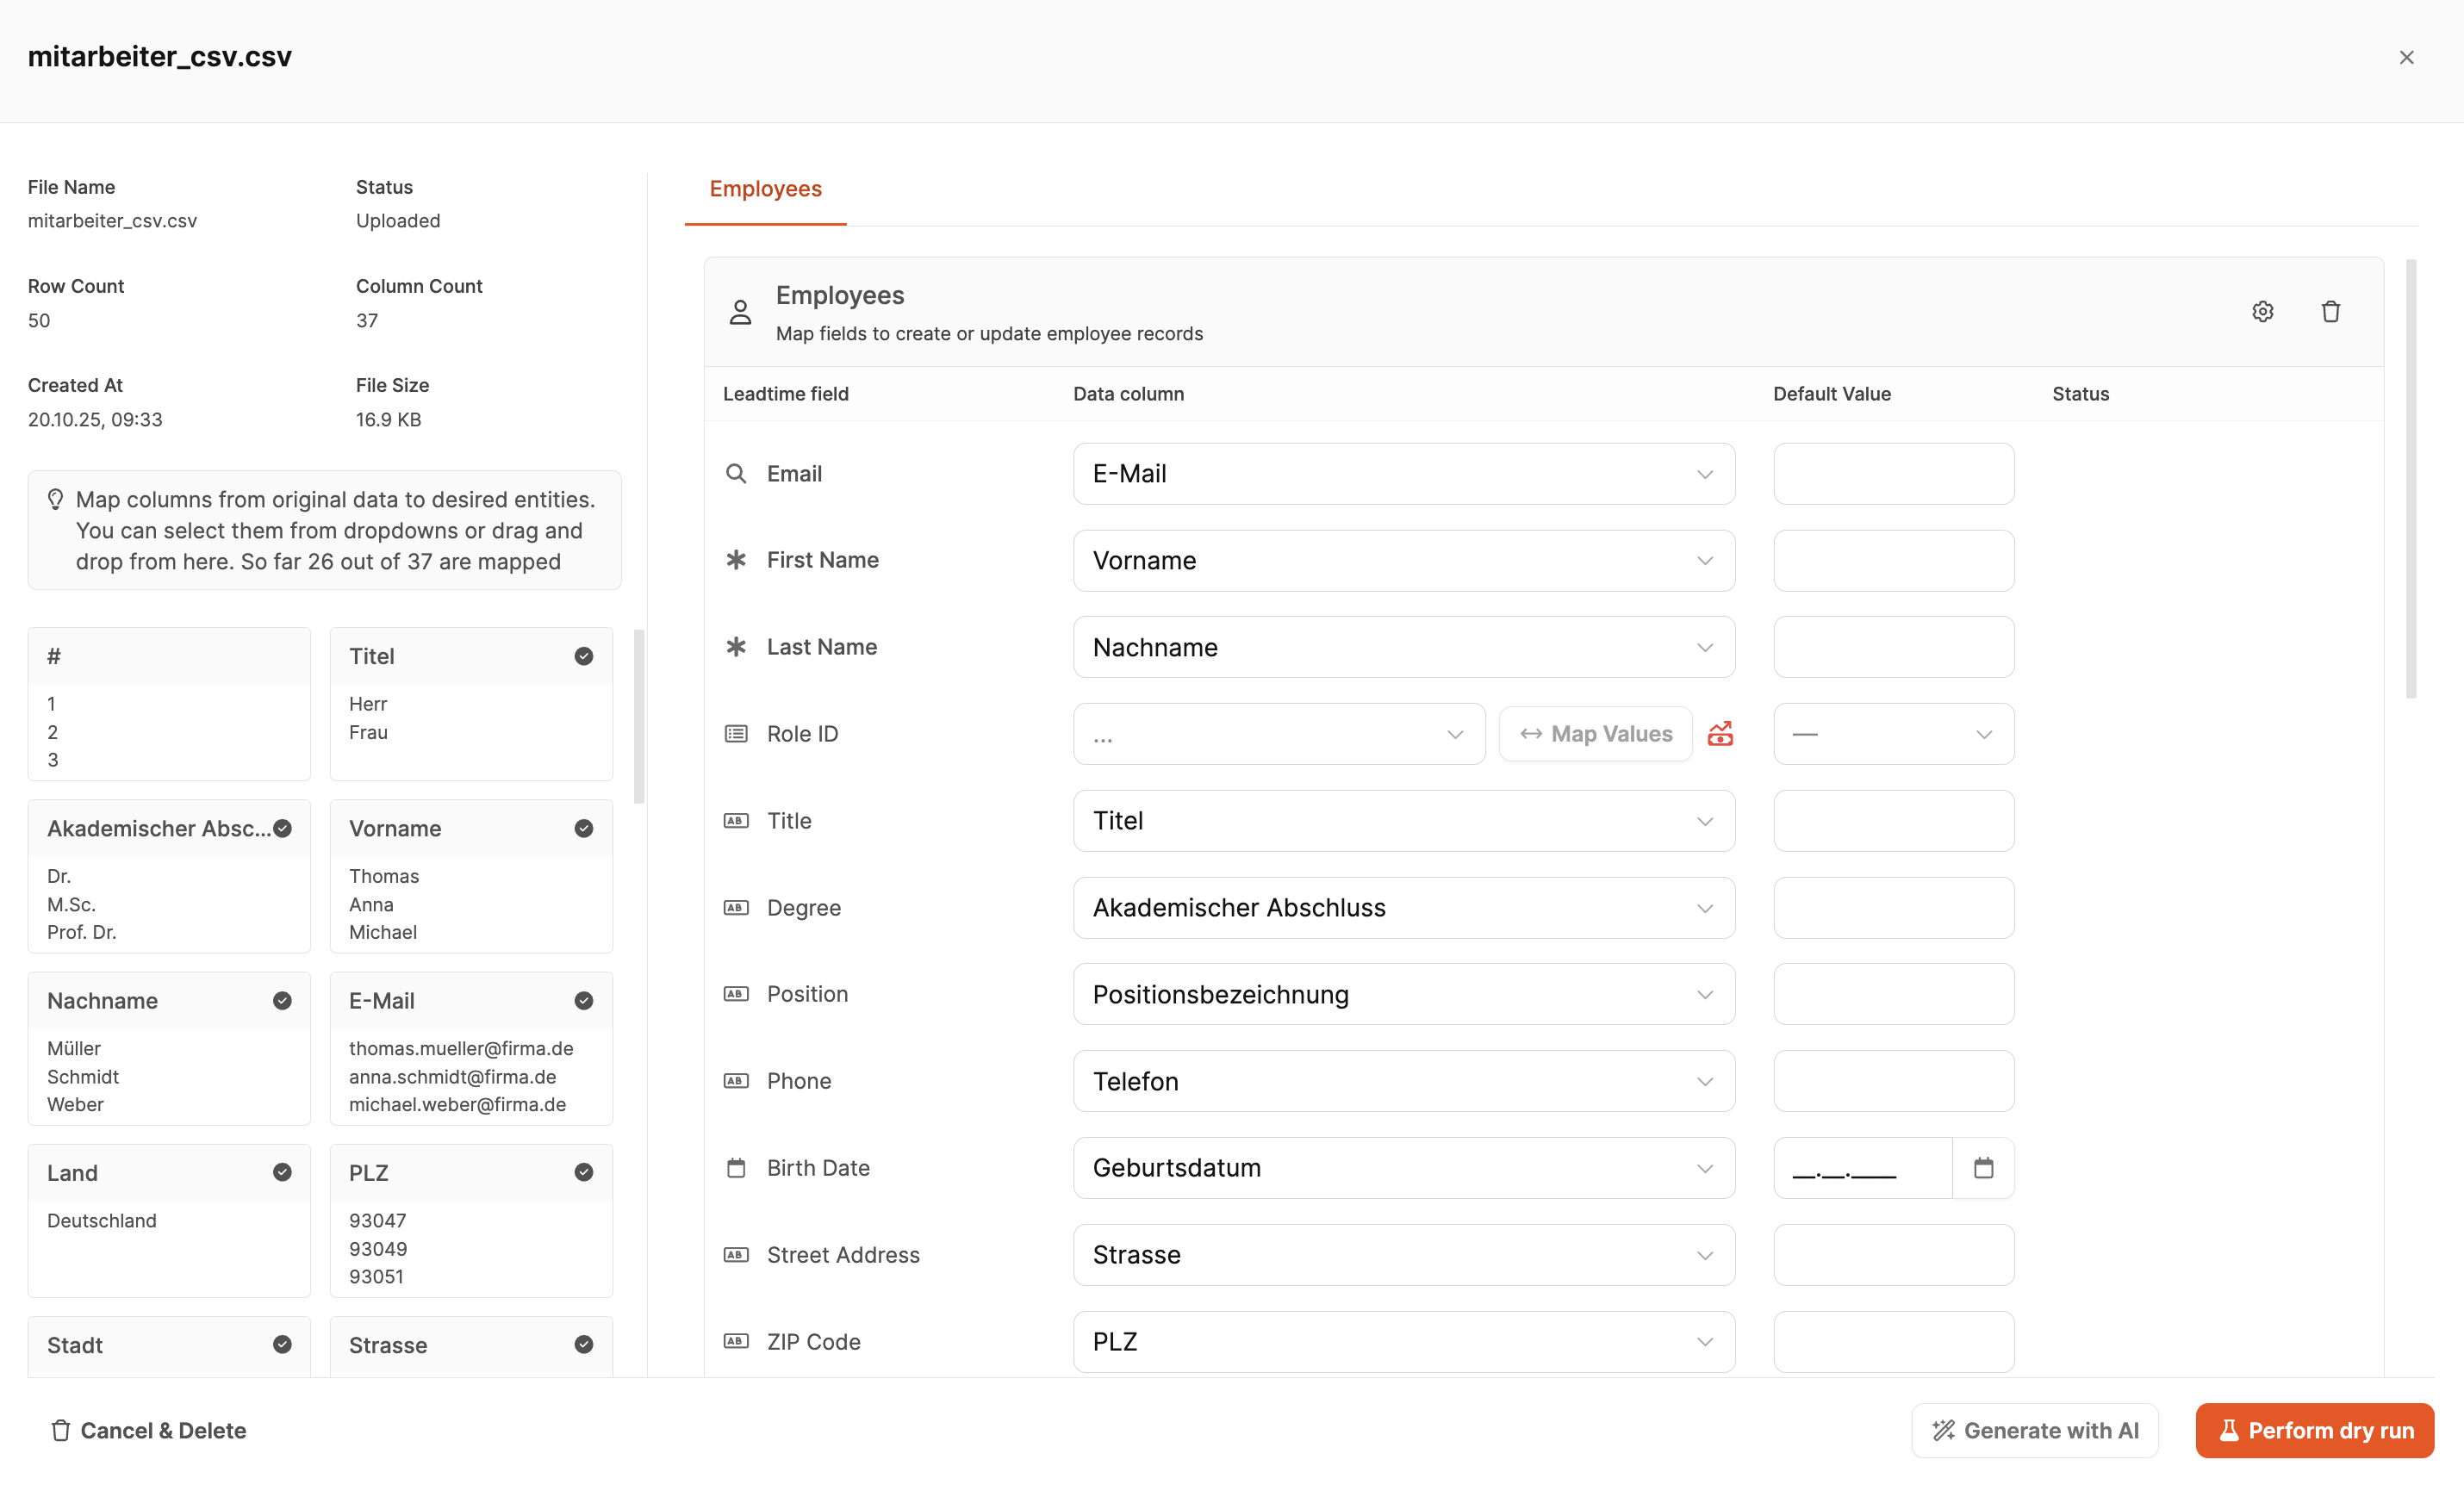
This view contains the field mapping for your import file. Here, you specify which columns in the CSV file map to which Leadtime fields. The page has two main sections: the left column displays the data detected in the file, while the right column contains the Leadtime fields and mappings.
Left column: source data
The header area of the view contains file statistics, including:
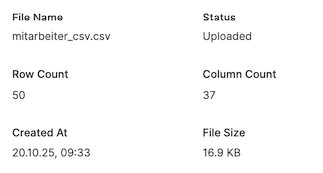
- File name
- Import status (for example, “Uploaded”)
- Number of rows
- Number of columns
- Upload timestamp
- File size
Below the statistics, you will see every column detected in the imported CSV file.
- A black checkmark next to a field indicates that the AI mapping feature mapped it automatically.
- Sample values from your file appear below each column name, helping you verify the mapping.
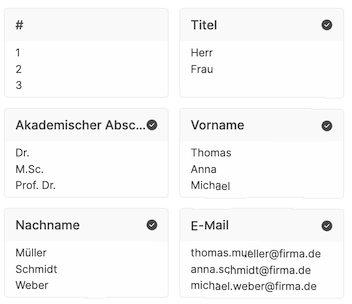
This information helps you determine whether the file was uploaded completely and correctly.
Right column: Leadtime field mapping
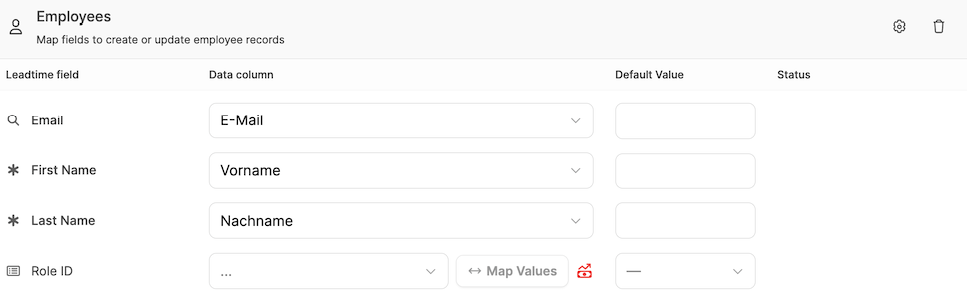
The actual mapping takes place in the right column. Each row represents a Leadtime database field for the selected entity, such as employees, organizations, or projects.
Column descriptions:
-
Leadtime Field
Shows the available fields for the relevant entity. When importing employees, for example, this includes fields such as First Name, Email, Position, and Role ID.
-
Data Column
Select columns from your CSV file here. AI maps them automatically, but you can change the selection manually at any time.
-
Use the dropdown menu to select a different column.
-
Use Map Values to convert specific values from the file, for example:
-
Yes → 1
-
No → 0
This is particularly relevant when Leadtime expects a numeric or Boolean value.
-
-
-
Default Value
Specifies the default value to use when the corresponding CSV field is empty.
-
Example: If “Department” is required in Leadtime but is empty in some rows, enter a replacement value such as “General” here.
This prevents incomplete rows from causing the import to fail.
-
-
Status
Displays any errors or warnings that occur during the import.
- Rows with red messages will not be imported.
- If this occurs, review the mappings or add default values.
[!WARNING] If you import employee data and grant those people access to Leadtime, new user accounts are created automatically. This may affect your license costs.
4. Test run (dry run)
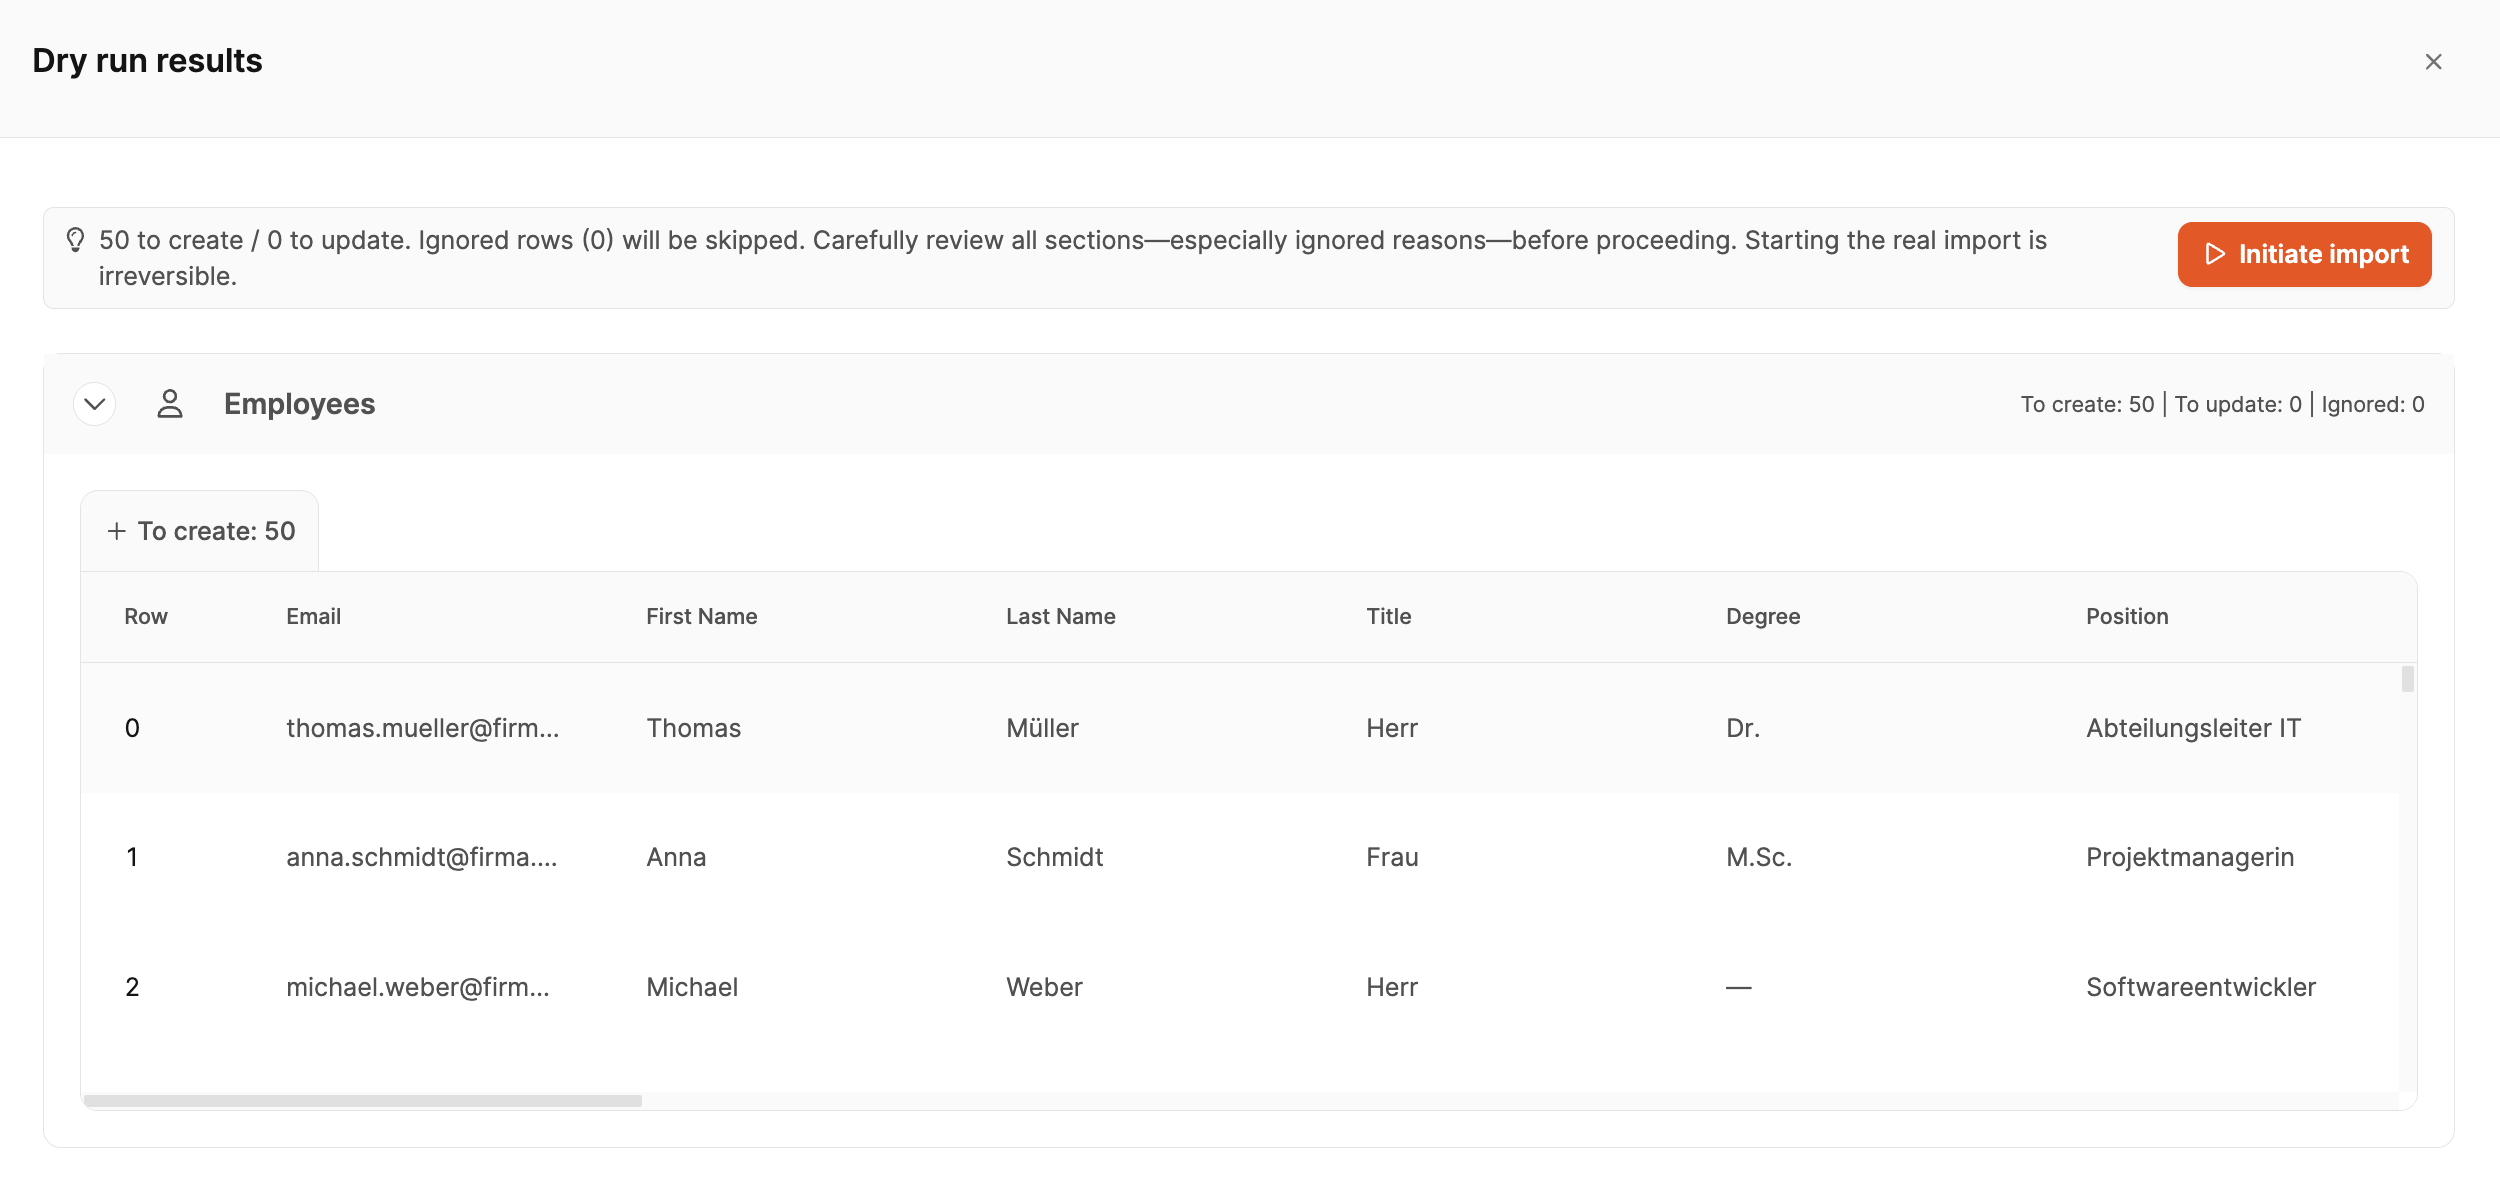
Before starting the actual import, click Perform dry run to run a simulation.
The simulation shows how many records will be created, updated, or ignored.
5. Start the import
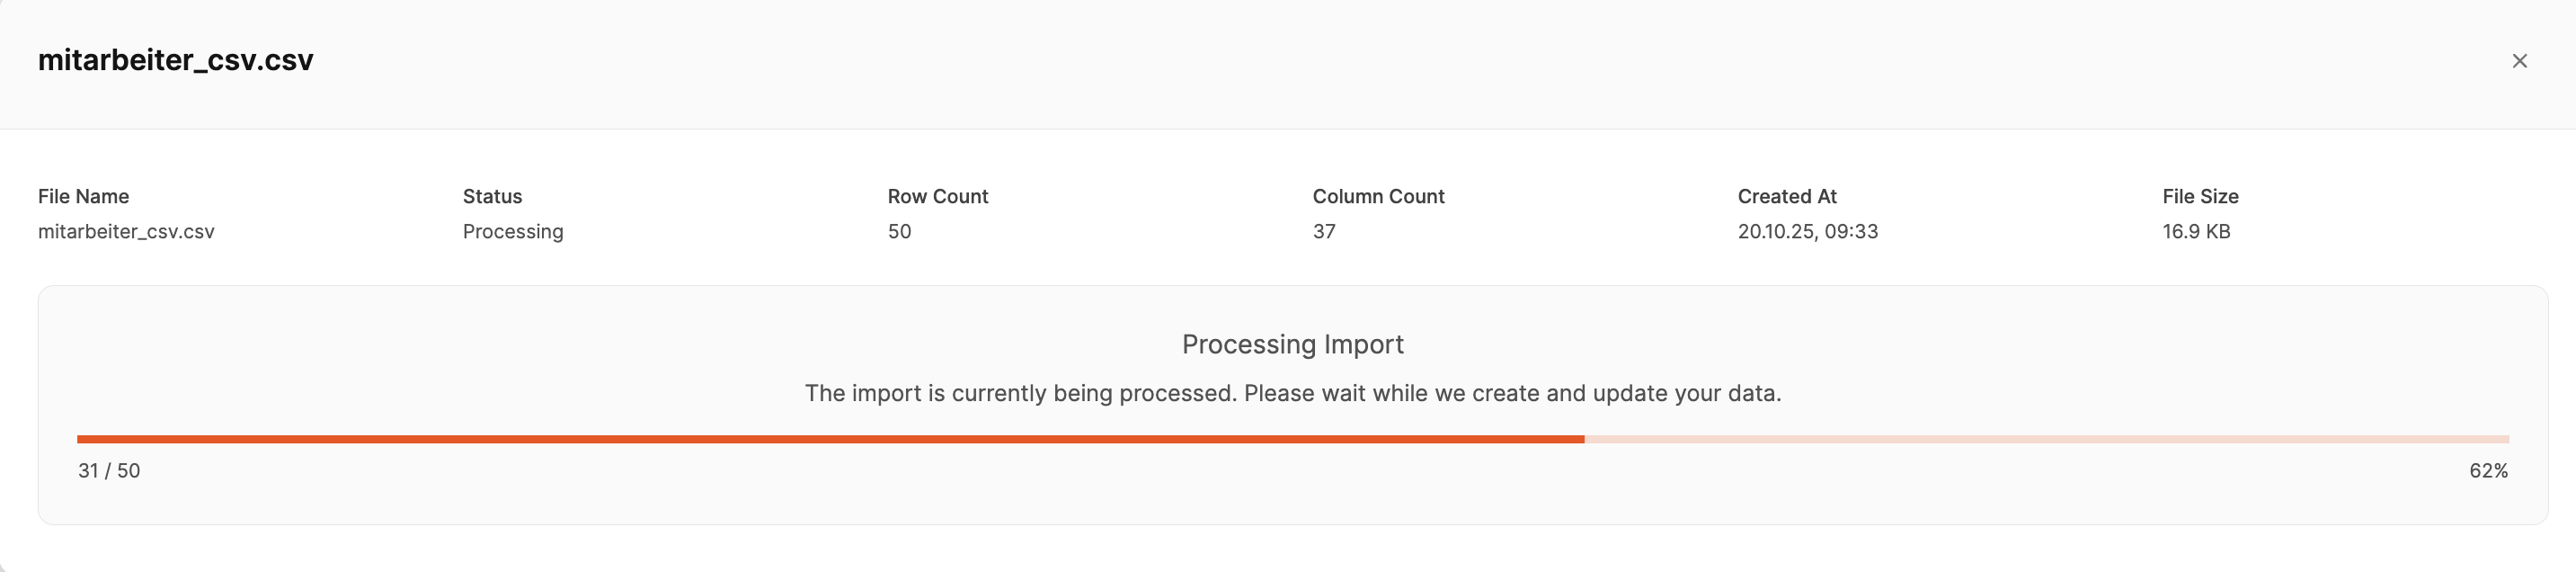
Once all mappings are correct, click Initiate import. A progress indicator displays the current status during the import.
When the import is complete, Leadtime creates or updates the records.
6. Check the import status
Under Administration → Imports, you can view all previous uploads and their status:
- Uploaded – File uploaded but not processed yet
- Processing – Import in progress
- Completed – Import completed successfully
- Failed – Import failed
Each entry also shows:
- File name
- Number of rows and columns
- Creation date
Combined data imports
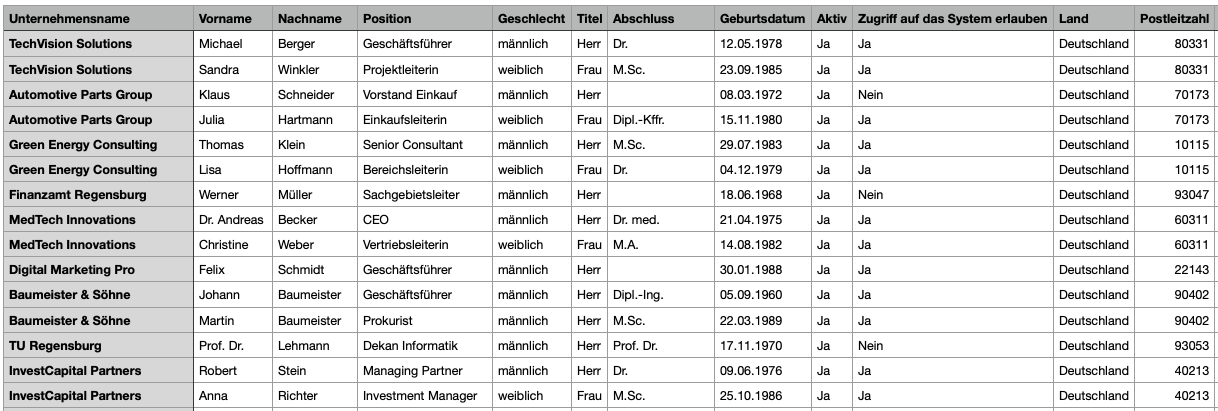
This guide explains how to import organizations and their members (users/guests) in two steps and match the records correctly. The same principle applies to other chains, such as Organization → Project → Task.
Overview: two-step process
- Import organizations
- Import organization members and use matching to assign them to the correct organization
Preparation
-
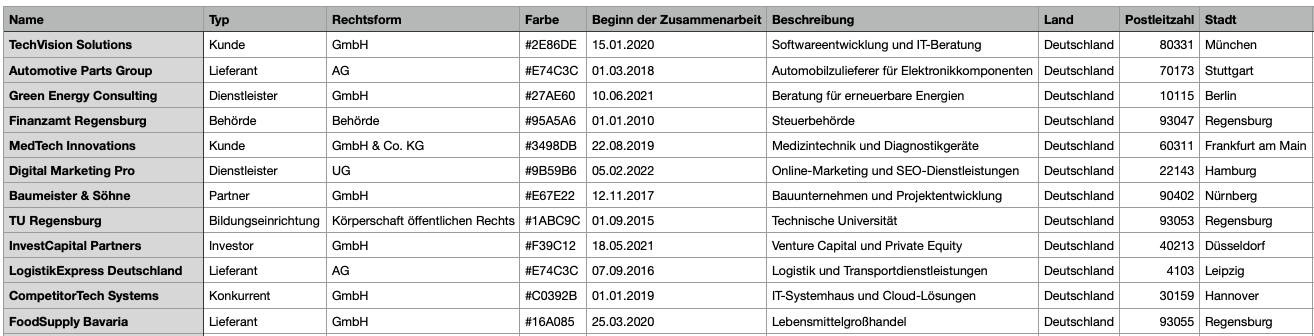
Provide two CSV files, for example:
- companies.csv (organizations)
- company_members.csv (employees/organization members)
-
Define a shared match field (in this example, Organization name).
Tip: When available, a unique ID such as an External ID is a more reliable match field than a name.
Step 1: Import organizations
-
Navigate to Administration / Imports and click Import file.
-
Upload companies.csv.
-
Review the AI mapping between the CSV columns and Leadtime fields.
- Typical fields include Name, Short name, color/icon, and contact details.
-
Option (CRM/Sales):
- Set Auto-Create Deal to Yes to create an initial project automatically for each organization.
-
Run Perform dry run and check:
- the number of records to create / to update / ignored
- and correct missing required fields or invalid columns, if necessary
-
Start Initiate import.
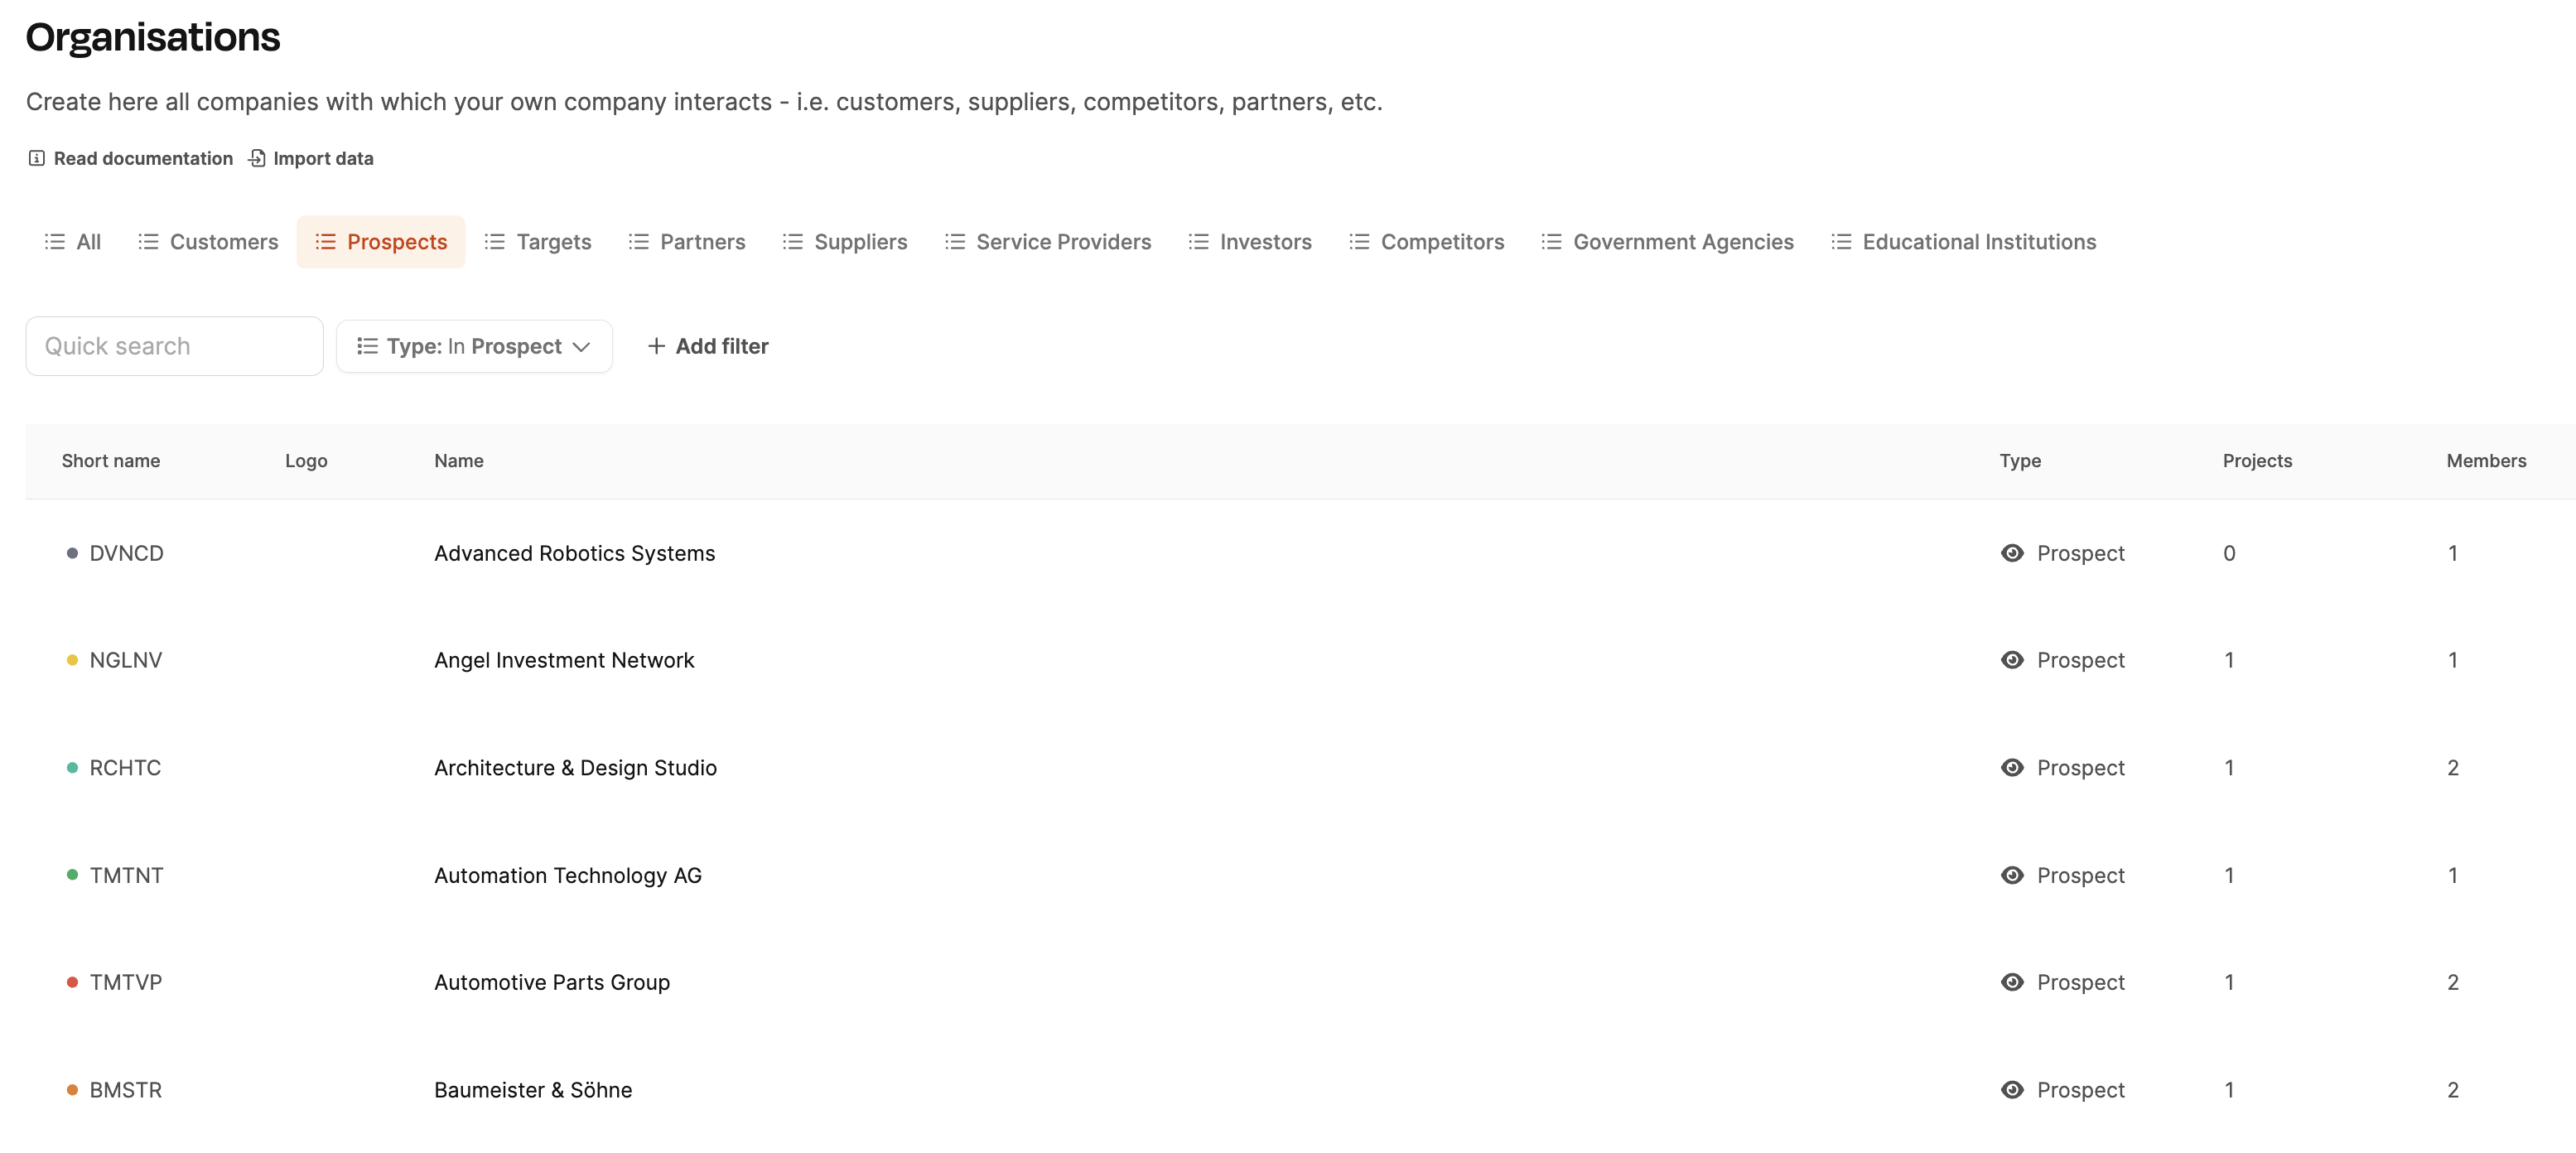
Check the result: The newly created companies now appear under Organizations, including automatically created initial projects where applicable.
Step 2: Import organization members (matching)
-
Select Import file again and upload company_members.csv.
-
The mapping view contains two sections:
- Main entity (Organization Members): Fields for the members being created, such as name, email, position, and influence level.
- Organizations (assignment section): The matching that assigns a member to an organization, using Organization name in this example.
-
Review the AI mapping and adjust it if necessary:
- Is the match field correct, such as Organization name?
- Are converted values, such as Influence level, correct?
-
Important: Do not set organization-wide default values that could mistakenly overwrite existing organization fields during the member import, such as Organization type.
-
Run Perform dry run:
- See how many members will be created,
- how many organizations will be updated (only when necessary),
- and whether any new organizations will be created (only if they were missing from the first step).
-
Start Initiate import.
Check the result: Open an organization and review the Members tab. The assigned people should be visible.
Common pitfalls and tips
- Choose the match field carefully: Names can vary in spelling or spacing. Use a unique ID wherever possible.
- Use defaults sparingly: Default values in the mapping column fill missing CSV values. Do not set defaults that unintentionally overwrite existing organization data.
- Review AI mapping: AI reduces the manual work but does not replace a careful review. Adjust mappings as needed.
- Use the dry run: The dry run previews exactly what will be created, updated, or ignored.
Even more complex chains
The same principle applies to multi-stage imports:
- Organization → Projects: Projects are assigned to organizations through matching.
- Project → Tasks (Tickets): Tasks refer to a project and often to a creator/assignee (member) as well.
- Tasks → Comments: Comments are imported after the tasks and assigned to the correct tickets.
The order is always from the parent object downward:
- Organizations → 2. Projects → 3. Tasks → 4. Comments
Support
[!SUCCESS] If you encounter difficulties during an import, such as matching, required fields, or format conversions, we are happy to help. Use Leadtime’s built-in help feature, and our team will assist you in completing the import correctly.